
Add an Integration
In this guide, you'll learn what integrations are, why they matter, how to connect individual tools, how to use bulk integration, and best practices for labels and CSV uploads.
What is an Integration?
An integration connects Master Inbox with the tools you already use for outreach, CRM, and notifications. Instead of checking multiple platforms for replies, integrations pull everything into one place so your team can see, reply, and act faster.
Without Integrations
Replies stay scattered across tools
Messages get missed
Teams jump between platforms constantly
Follow-ups fall through the cracks
With Integrations
All replies appear in one inbox
LinkedIn and email conversations are unified
Alerts trigger automatically
CRMs stay in sync
Think of it this way: Your tools send messages. Master Inbox captures replies. Integrations bridge the gap between them.
What You'll Need
Most integrations require one or more of the following credentials. Have these ready before you start.
Authentication
API Key / API Secret
Account or Workspace ID
Configuration
Labels or Tags (e.g. DNC, Warm-up)
Webhook URL (for real-time updates)
These credentials let Master Inbox securely communicate with each connected tool.
Steps to set Integration:
Go to Workspace Settings
Click on Integrations
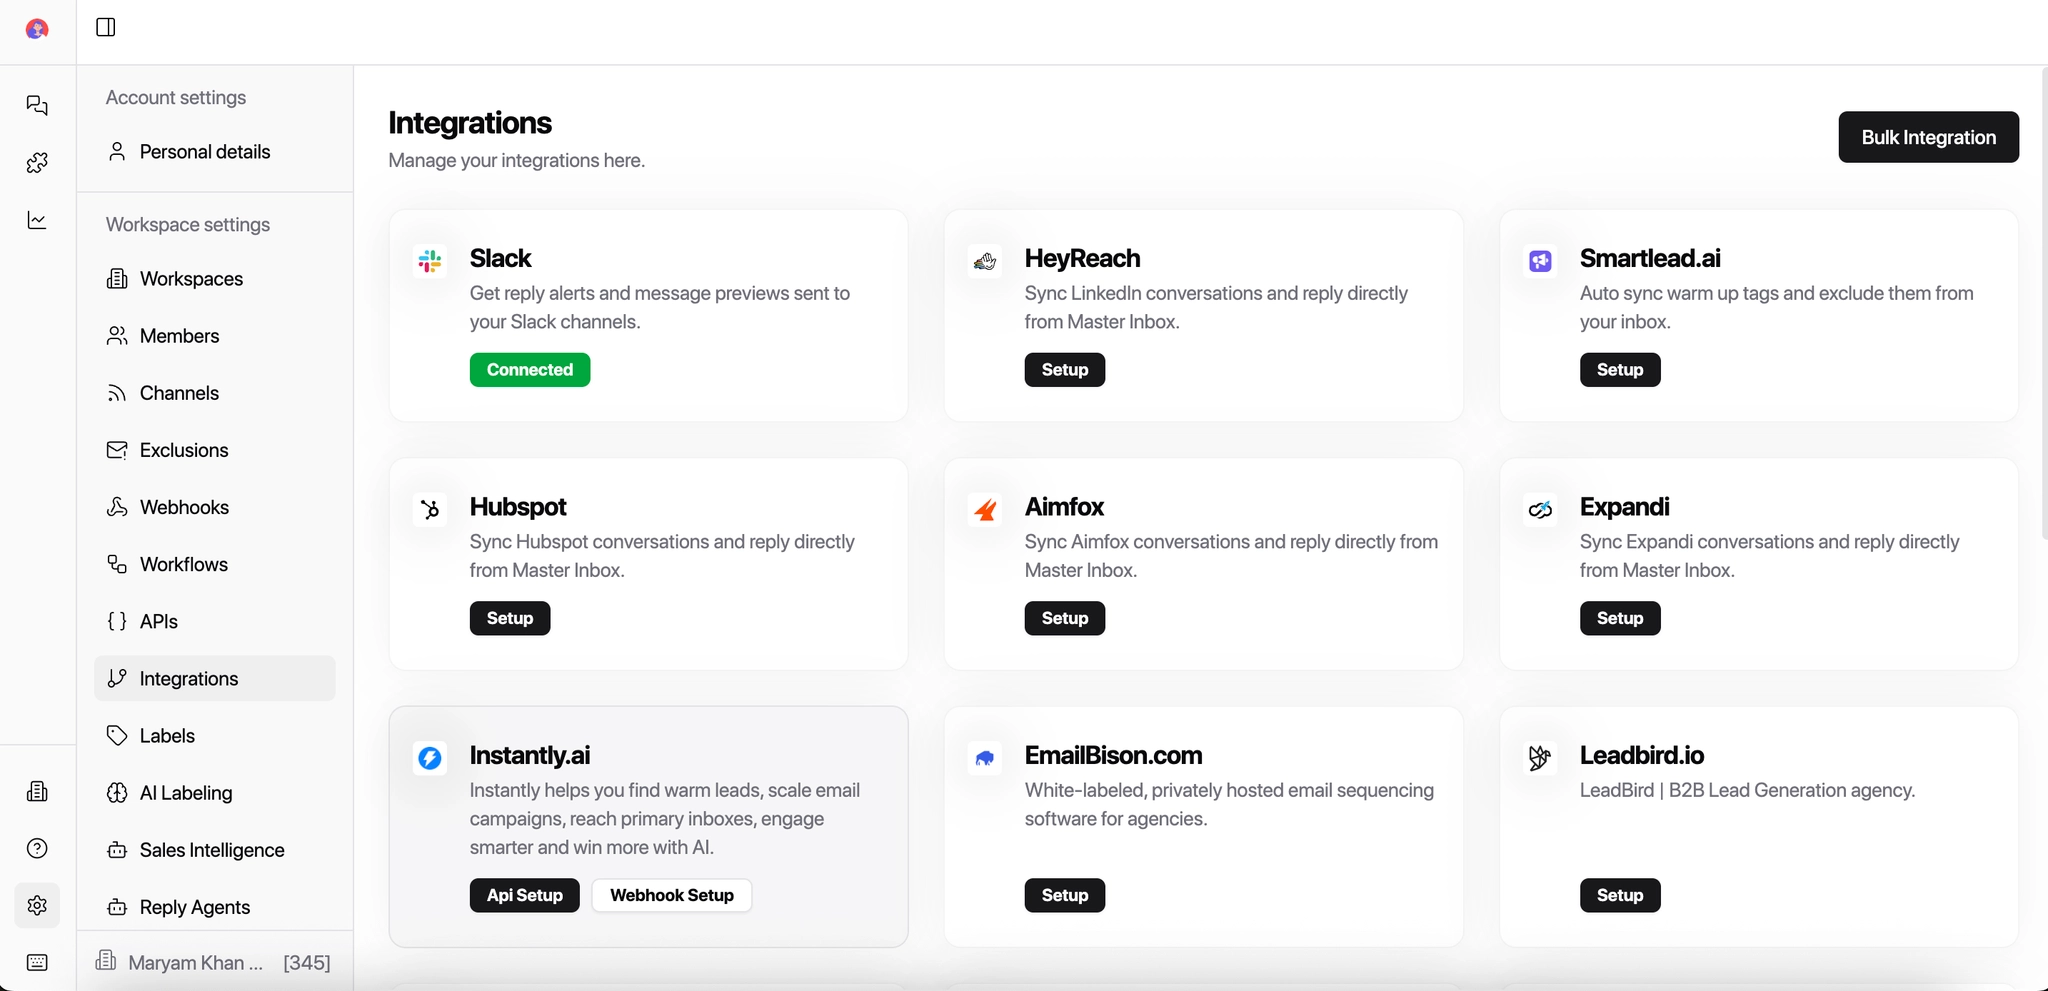
Select the tool you want to connect
Enter the required credentials. For Example: API key, API Secret, DNC Equivalent Labels etc
Click Save
You can also choose Bulk Integration by providing all the credentials.
What Is Bulk Integration?
Instead of connecting one inbox at a time, Bulk Integration lets you connect multiple outreach tools in a single flow.
Think of it this way: one workspace → many sender identities. Bulk Integration is how agencies connect everything at scale without repetitive manual setup.
Bulk Integration allows you to:
Connect multiple outreach tools in one flow
Apply labels automatically
Assign accounts to the right workspace
Avoid repetitive manual setup
Supported Tools for Bulk Integration
Bulk Integration currently supports:
Email Bison
Used for agencies running white-labeled or privately hosted email sequencing.
Required fields:
EmailBison API Key
EmailBison API URL
Labels (to organize replies inside Master Inbox)
Once connected, all replies from EmailBison mailboxes sync automatically.
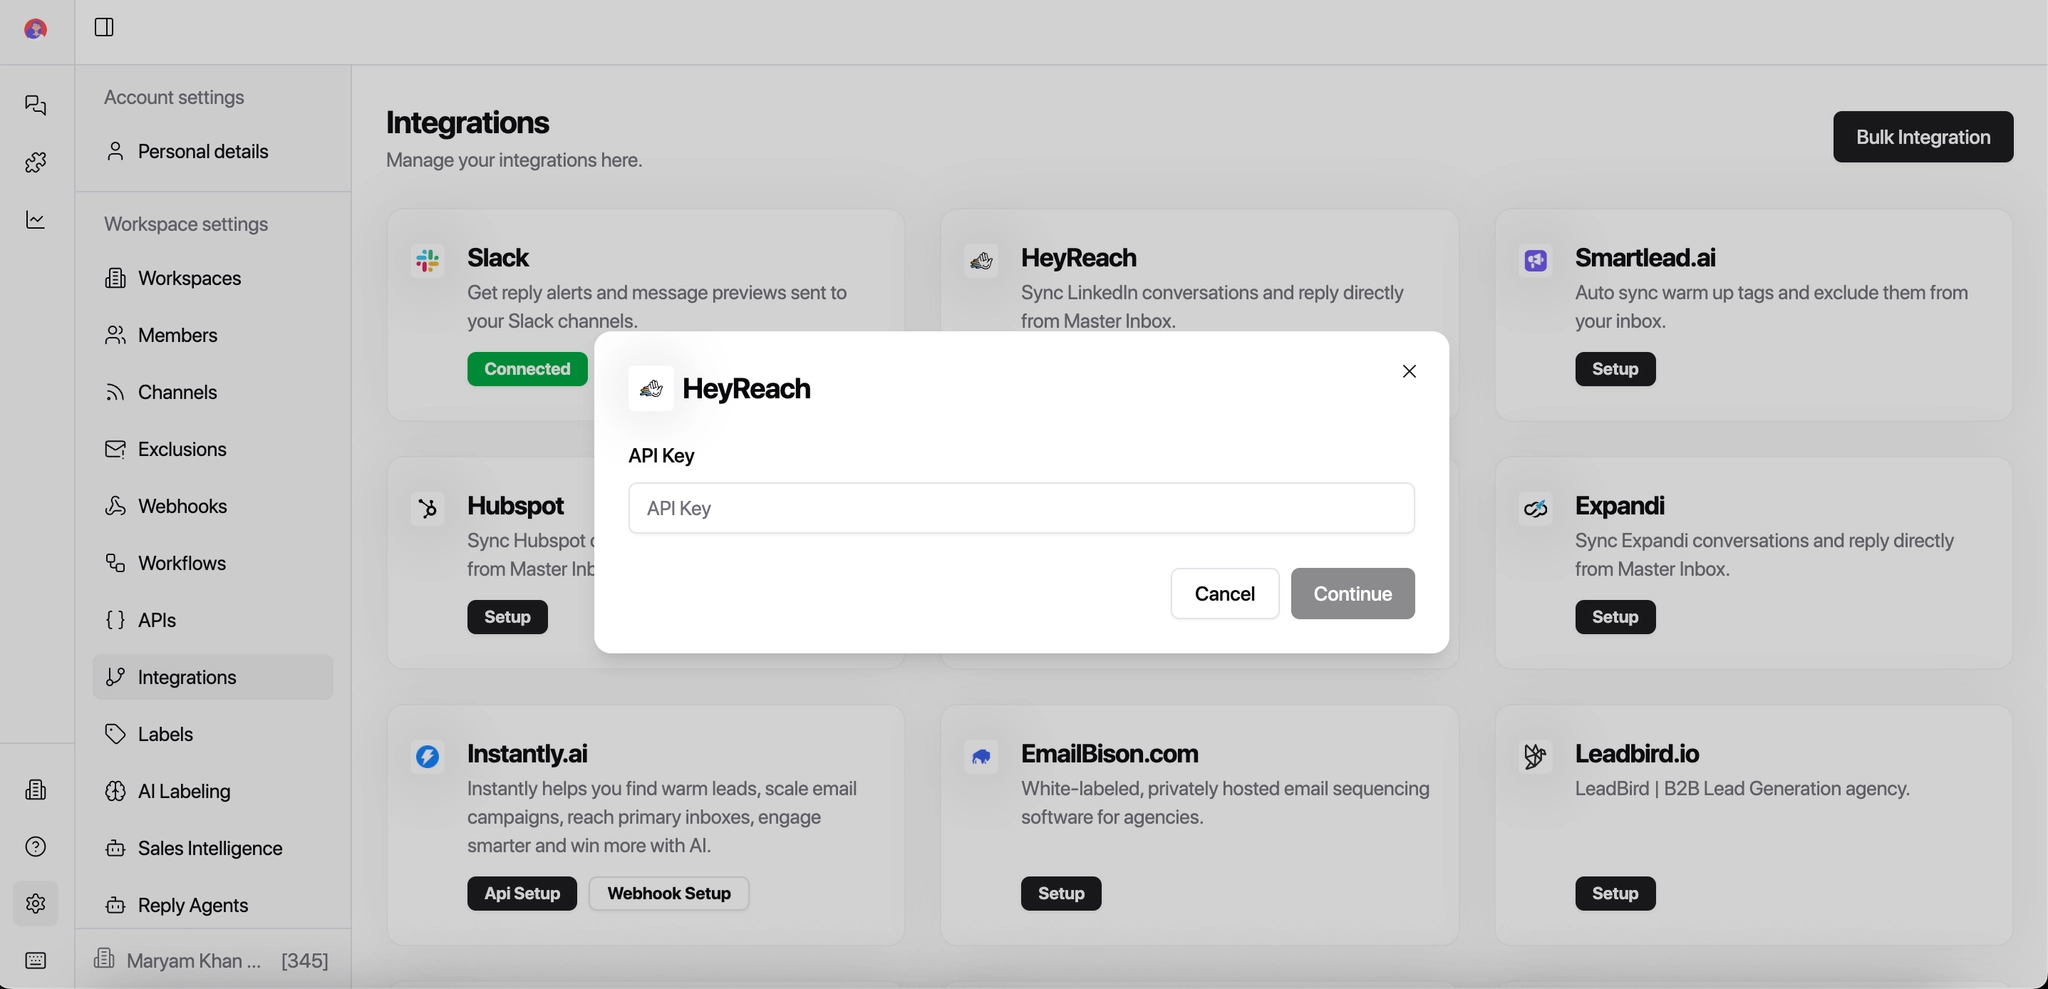
HeyReach
Used to sync LinkedIn conversations and reply directly from Master Inbox.
Required fields:
HeyReach API Key
Select LinkedIn accounts to connect
This pulls LinkedIn replies into the same inbox as your email replies.
SmartLead.ai
Used mainly for email warm-up, deliverability control, and scaling cold email campaigns.
Required fields:
Smartlead API Key
Select Client
Select Label(s)
Warm-up or excluded emails can be automatically filtered out of your inbox.
Instantly.ai
Used for scaling cold email campaigns and managing warm leads.
Required fields:
Instantly API Key
Select Label(s)
Replies sync automatically and appear in real time.
Why Labels Matter During Setup
Always assign labels during bulk setup — not after. Skipping this step means manual cleanup later and risks replies routing to the wrong place.
Labels help you:
Separate clients from each other
Filter warm vs cold replies
Route conversations to the right team
Trigger automations or webhooks
CSV Uploads
Some providers allow you to export sender accounts via CSV and upload them directly into Master Inbox.
Typical CSV fields include:
Email address
Account ID
Provider name
Client or campaign name
Common CSV errors to watch for:
Missing headers
Extra spaces in fields
Incorrect email formats
Unsupported export structure
If an upload fails, check your formatting carefully before retrying.
CSV Best Practices
Export directly from the provider dashboard — don't reconstruct manually
Avoid editing CSVs in tools that auto-format (like Excel) unless necessary
Keep one client per file when possible
Use clear, consistent naming conventions across files
Complete The Setup
Once all required fields are filled:
Review your selected accounts and labels.
Click Save Integration.
That's it. Your mailboxes or LinkedIn accounts will start syncing replies into Master Inbox automatically — no further configuration needed.
Explore integration guides: