
Navigate Threads Views
What you'll learn
In this guide, you'll learn how to find and filter messages, navigate conversation threads, reply using templates and AI assistance, and personalize responses correctly.
How to View and Reply to Messages
Follow these steps to quickly find the right messages and respond without missing anything.
Steps:
Click Label at the top of the inbox.
Select the relevant filter (for example: Interested, Needs Reply, Client Replies).
The message list updates instantly to show only relevant conversations.
👉 This helps you focus only on messages that need action.
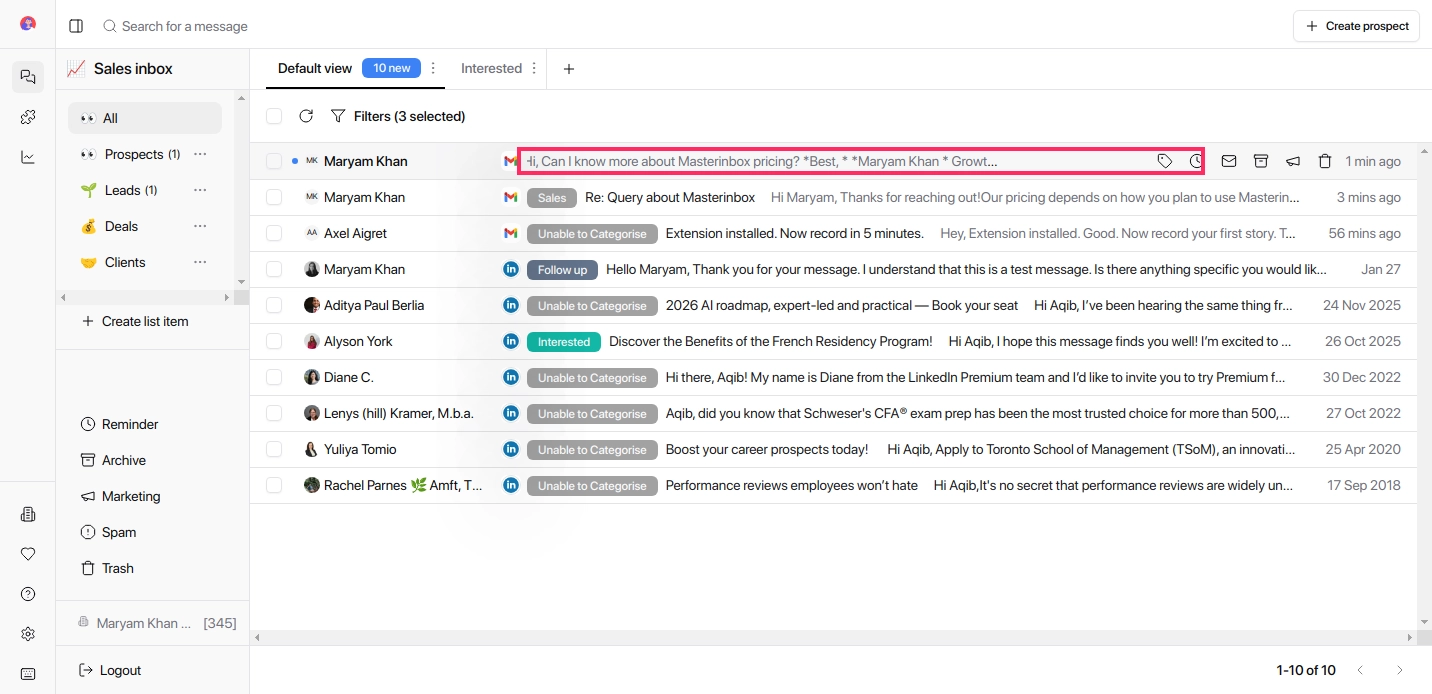
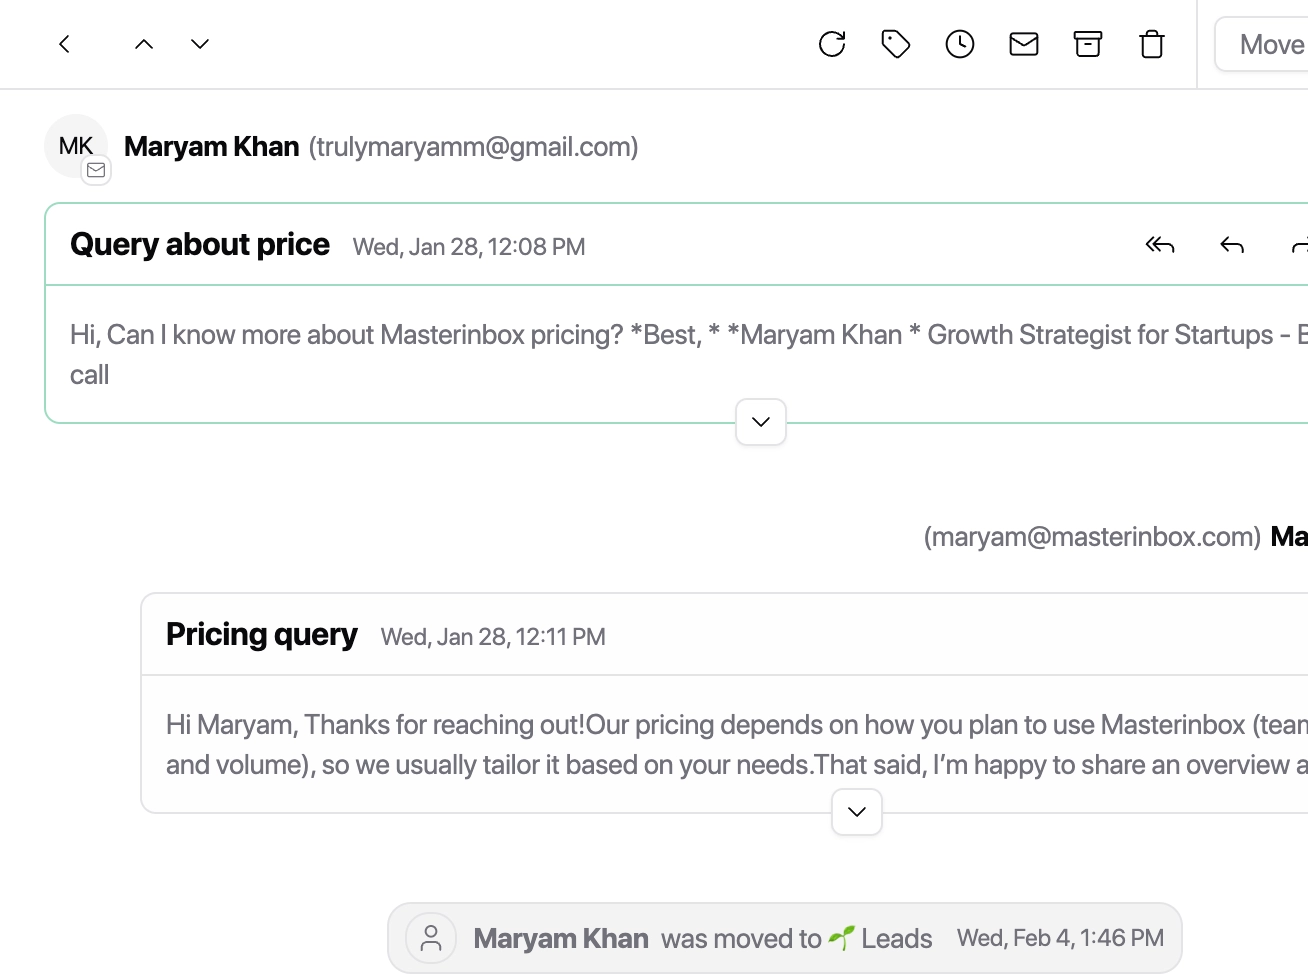
Click on the message you want to respond to; this area is called Threads, where you can view the full conversation along with the prospect's (the unique email address) details.
When you click on the message, you will find some options:
You'll see action icons at the top of the reply box: Refresh, Labels, Mark as Unread, Archive, Trash
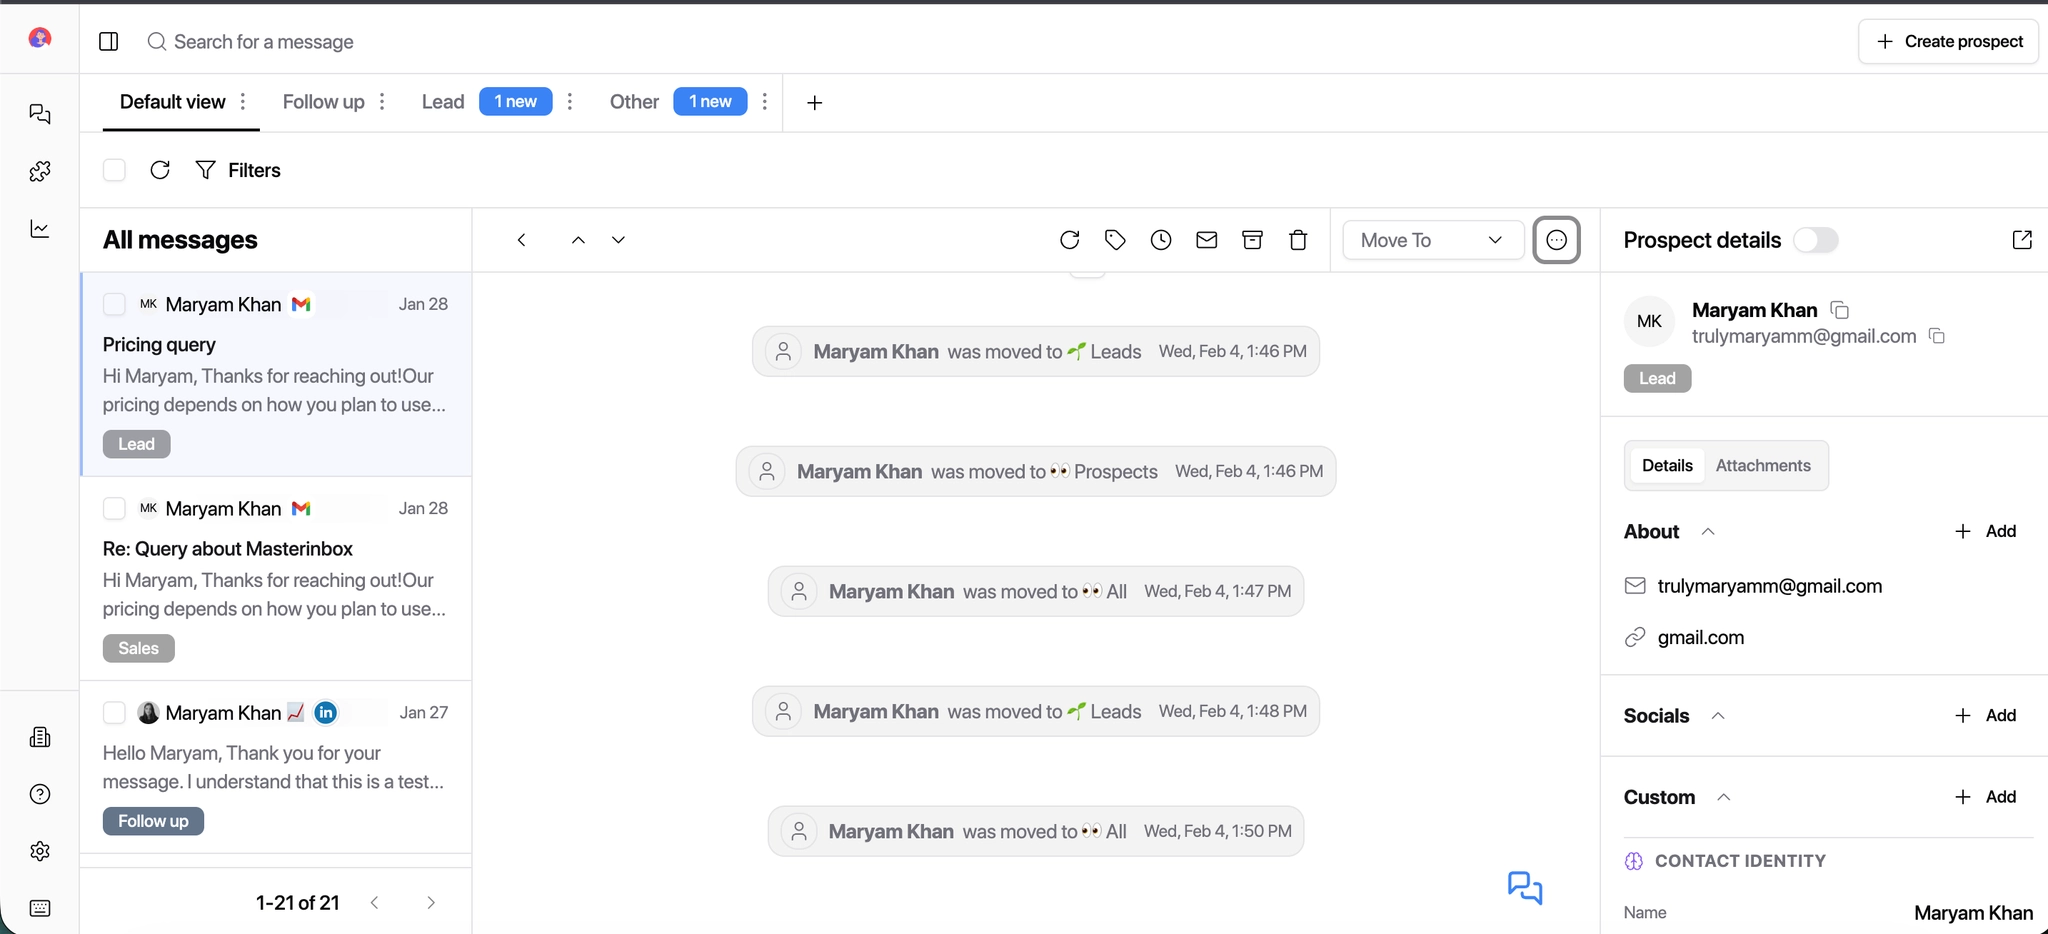
Use the Move To dropdown to move the conversation to another list item (Lead, Deal, Client, etc.).
Click the three-dots (⋯) icon to view prospect details.
Prospect Details Panel
This panel shows contextual information about the prospect taken from the conversation.
You can toggle it off at any time if you prefer a distraction-free view.
Currently, it includes: Conversation details (message history, email, channel, subject)
Prospect information enriched via Sales Intelligence can also be shown here
(data pulled from tools like Clay, HeyReach, or other enrichment platforms)
Click Reply in the bottom-right corner of the message panel.
Type your response, or type # to insert a saved email template. See How to Create an Email Template to learn how to set up and manage templates.
To create an automated reply, click the Bot icon in the reply box.
Personalization Tips
You can personalize replies using variables (for example, prospect name), adjust text formatting, add attachments, and include a signature using the toolbar above the reply box.
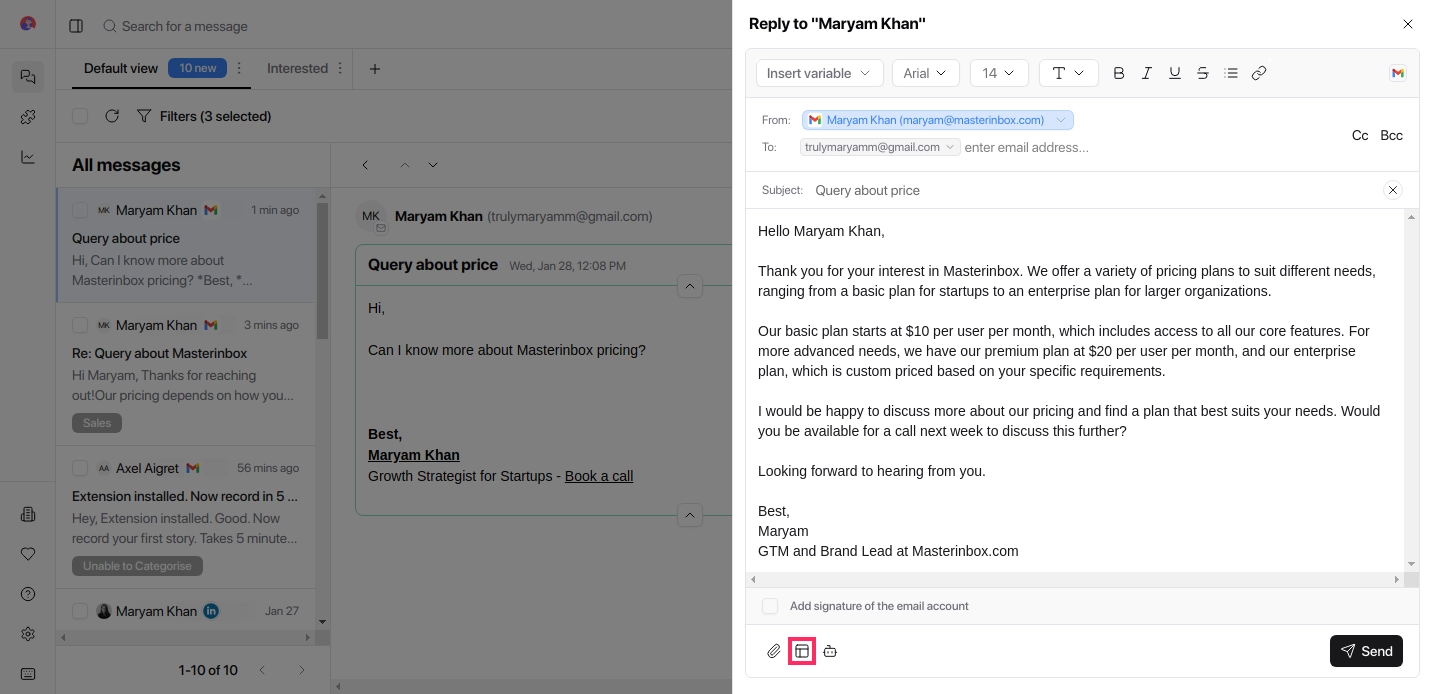
Review it if needed to ensure you're replying to the correct contact and click Send. The recipient email address is automatically filled in. No manual setup required in most cases.
Replies are sent automatically from the connected sender (email or LinkedIn).