
Create a New Email Signature
What you'll learn
In this guide, you'll learn what email signatures are, how to create and name them, how to assign them to the right channel, and how to apply them while replying.
How to Create a New Email Signature
Signatures are your identity layer. They don't change the message — they reinforce who you are, who you represent, and how to reach you.
Professionalism
Every email ends consistently, no matter who on the team sends it.
Brand Consistency
Your name, role, and contact details always appear correctly — no manual sign-offs.
Flexibility
Create multiple signatures and switch between them based on context — sales, partnerships, support, and more.
Creating a New Signature
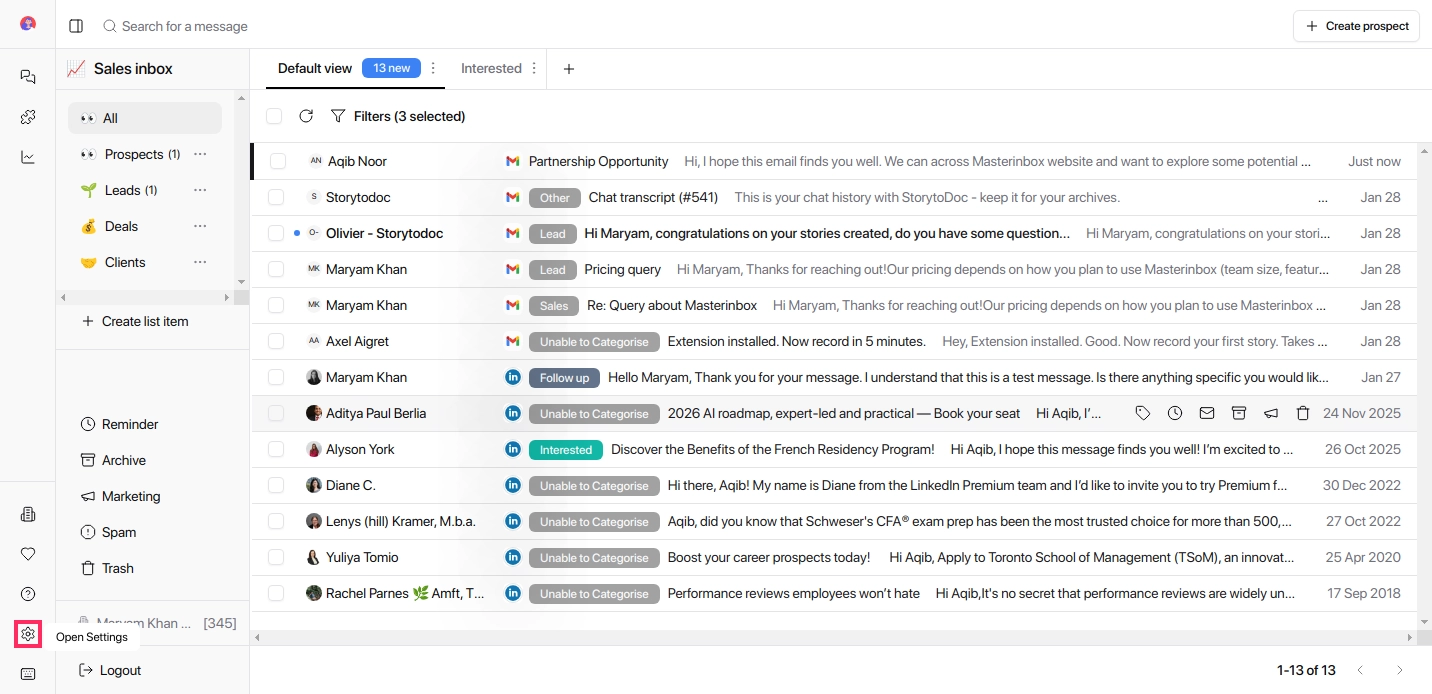
Click the Settings icon at the bottom-left corner of the screen
This is where all workspace configurations live.
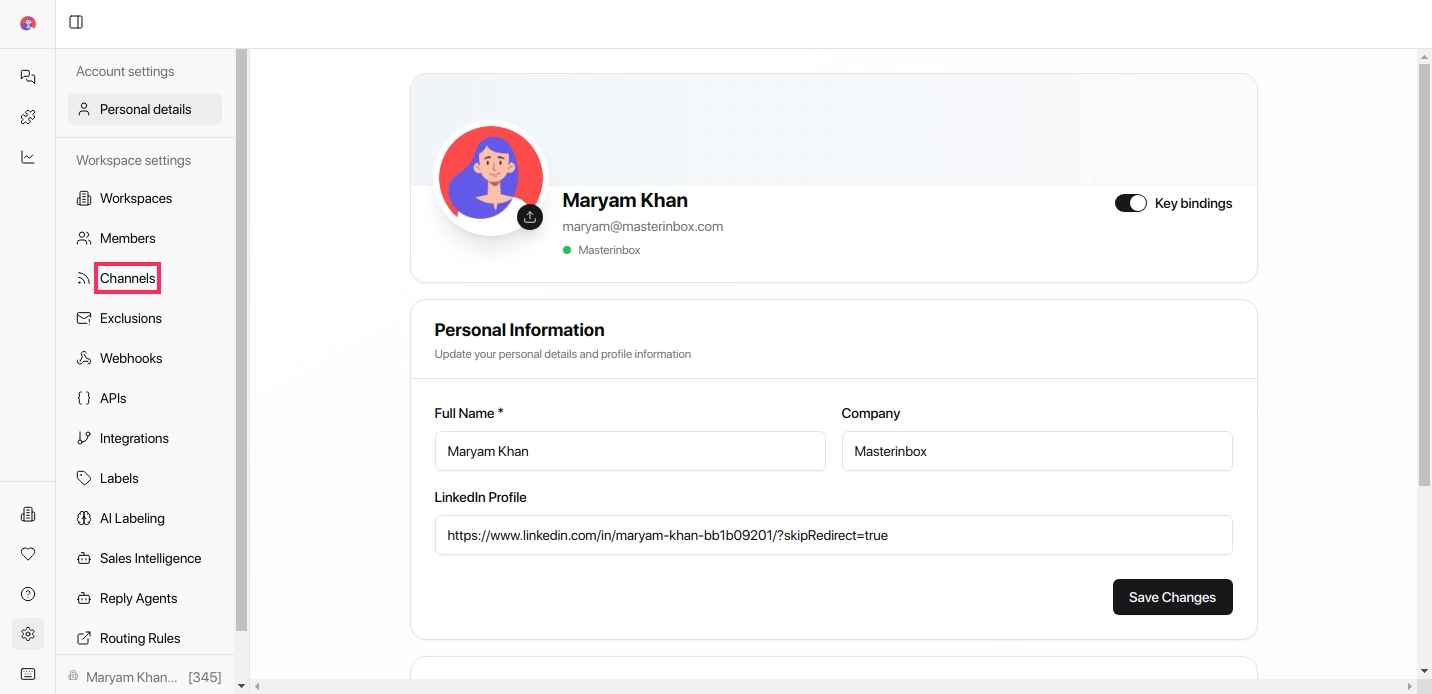
From the left-hand menu, select Channels
This section manages email-related settings, including signatures.
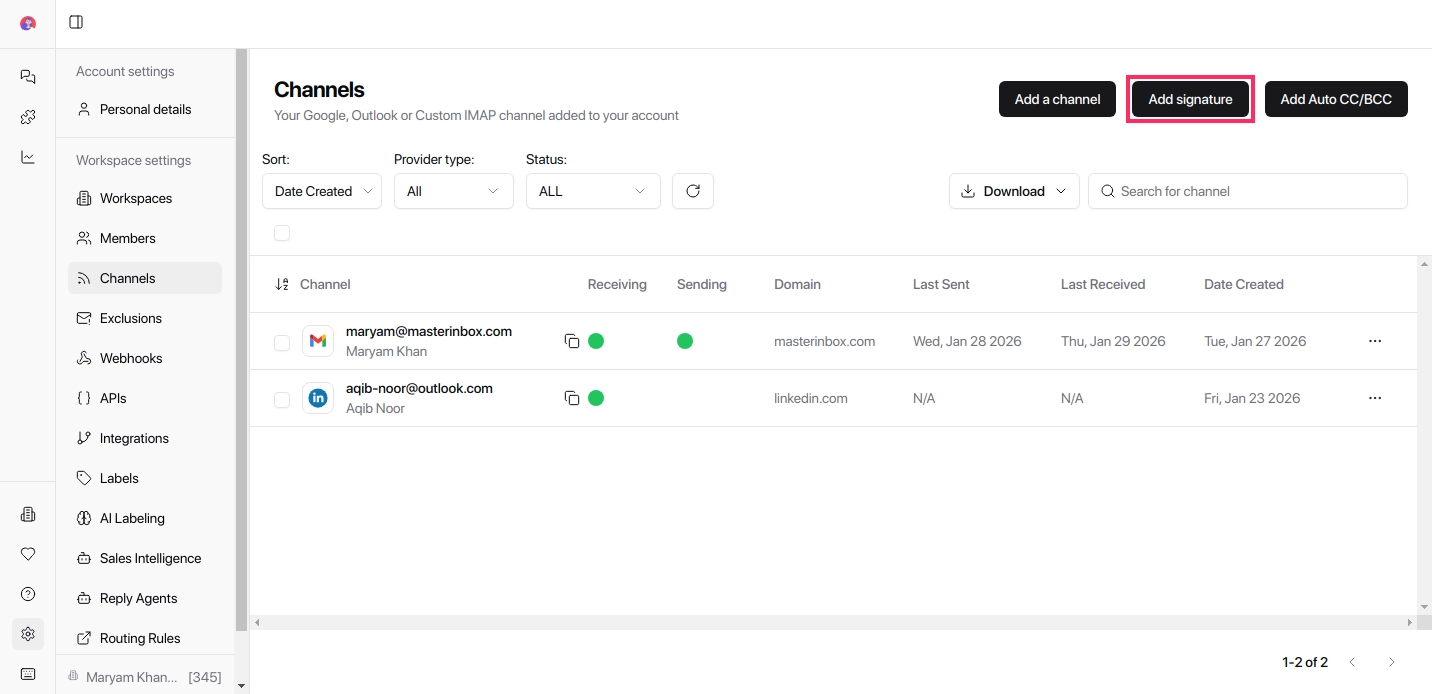
Click Add Signature in the top-right corner of the Channels page
This opens the signature creation modal.
Enter the Signature Name
In the Signature Name field, enter a clear name
Example: Sales Signature, Partnerships, Support
This name helps you identify the signature later.
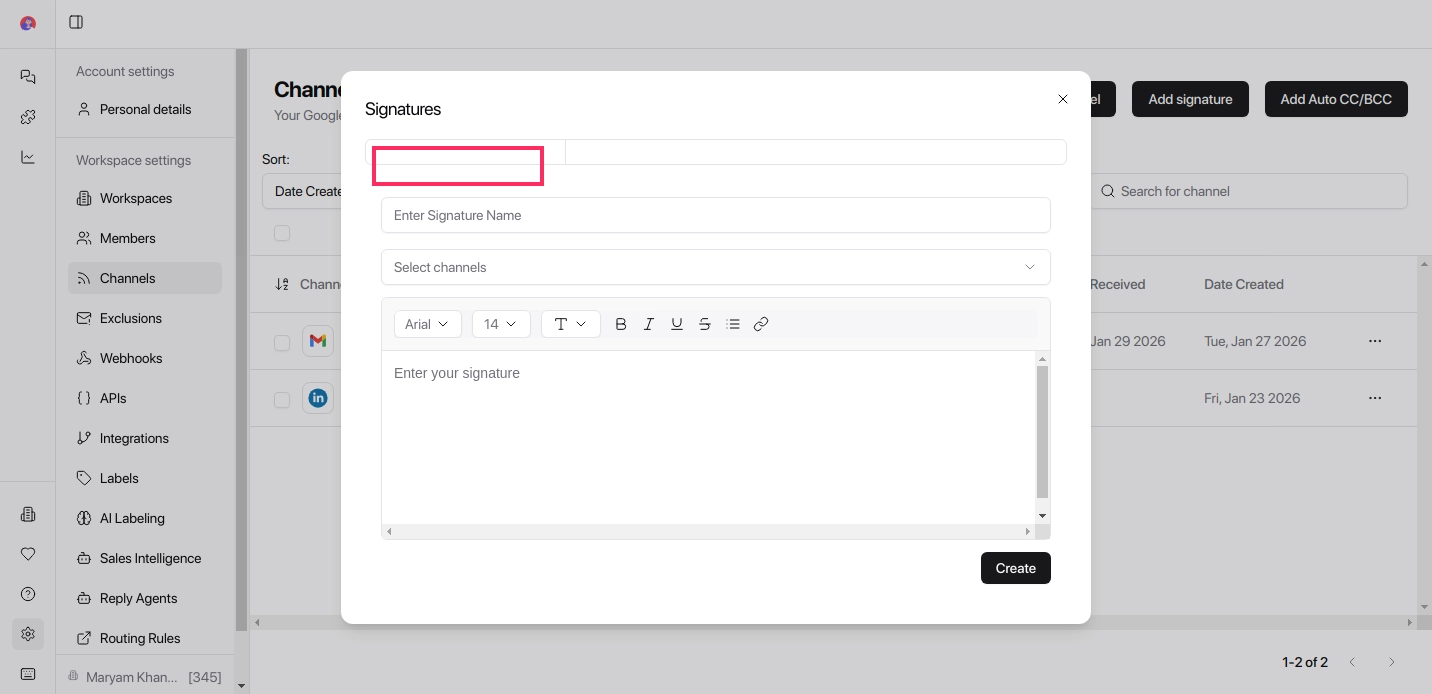
Choose the email channel you want to add the signature to
If you have multiple email accounts connected, make sure you select the correct one.

In the signature editor, enter your signature text
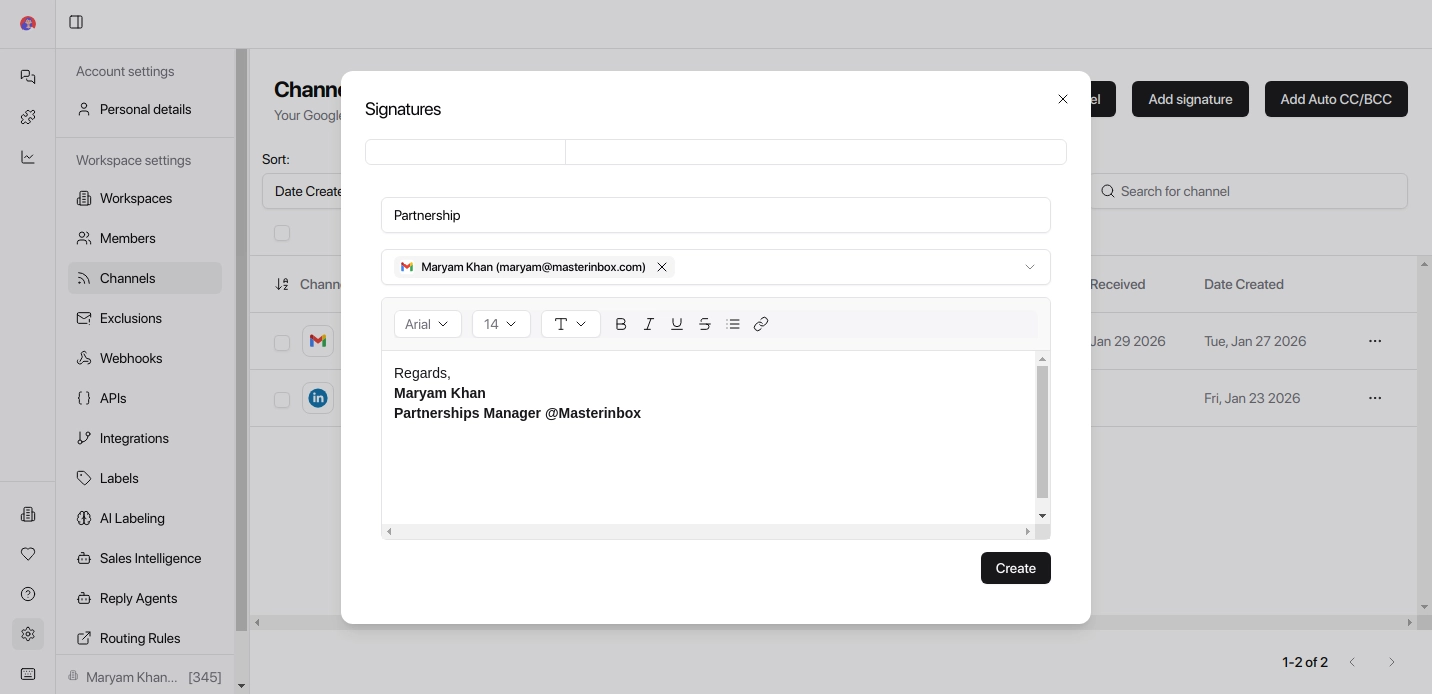
Click Create to save the signature
Keep signatures short and professional. A name, role, company, and one contact detail is usually enough. Avoid long disclaimers or too many links — they add noise without adding value.
How to Use a Signature
Open an email conversation
Select the signature you want to use
The selected signature will be applied to your reply
Your signature is saved and available across all replies from the assigned channel. You can create multiple signatures and switch between them at any time — no reconfiguration needed.