
Test Your Reply Agent
In this guide, you'll learn why testing your Reply Agent matters, how to verify your AI provider connection, how to review your prompt before going live, and how to preview replies against real prospect conversations.
Why Testing Your Reply Agent Matters
Before your Reply Agent starts handling real conversations, it's important to make sure everything is working the way you set it up.
Testing your agent lets you:
Confirm your AI provider is properly connected — if the connection is broken, your agent won't generate any replies at all
Review your prompt before it goes live — make sure the role, tone, and instructions are exactly what you intended
Preview how your agent replies to a real prospect — so you can catch any issues before they reach an actual lead
Skipping this step means you might not realize your agent isn't working until replies are already being missed. A broken API connection or an incorrect prompt won't show any errors — it just silently fails.
Prerequisites
Make sure you have already created a Reply Agent before following this guide. If you haven't, refer to How to Create a Reply Agent first.
Steps
Go to Settings
Click on the Reply Agent icon
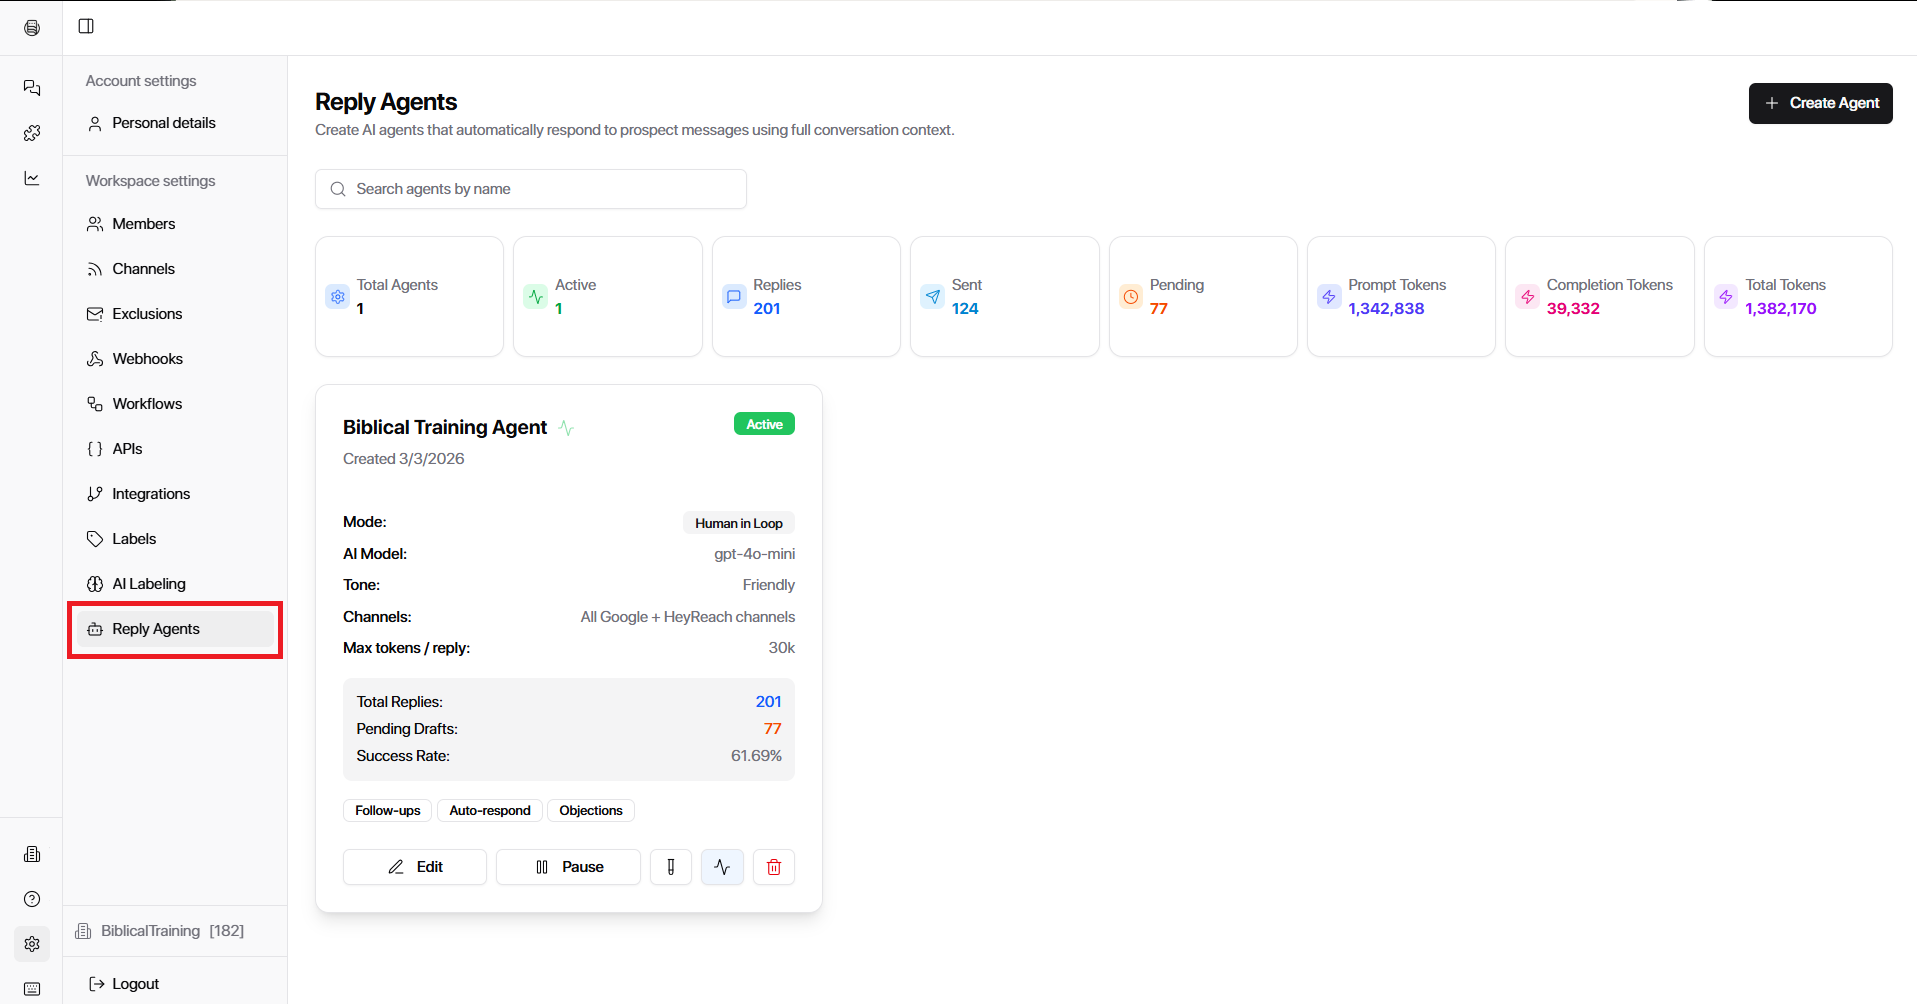
You will see a list of your current running agents
Click the Test Agent button next to the agent you want to test
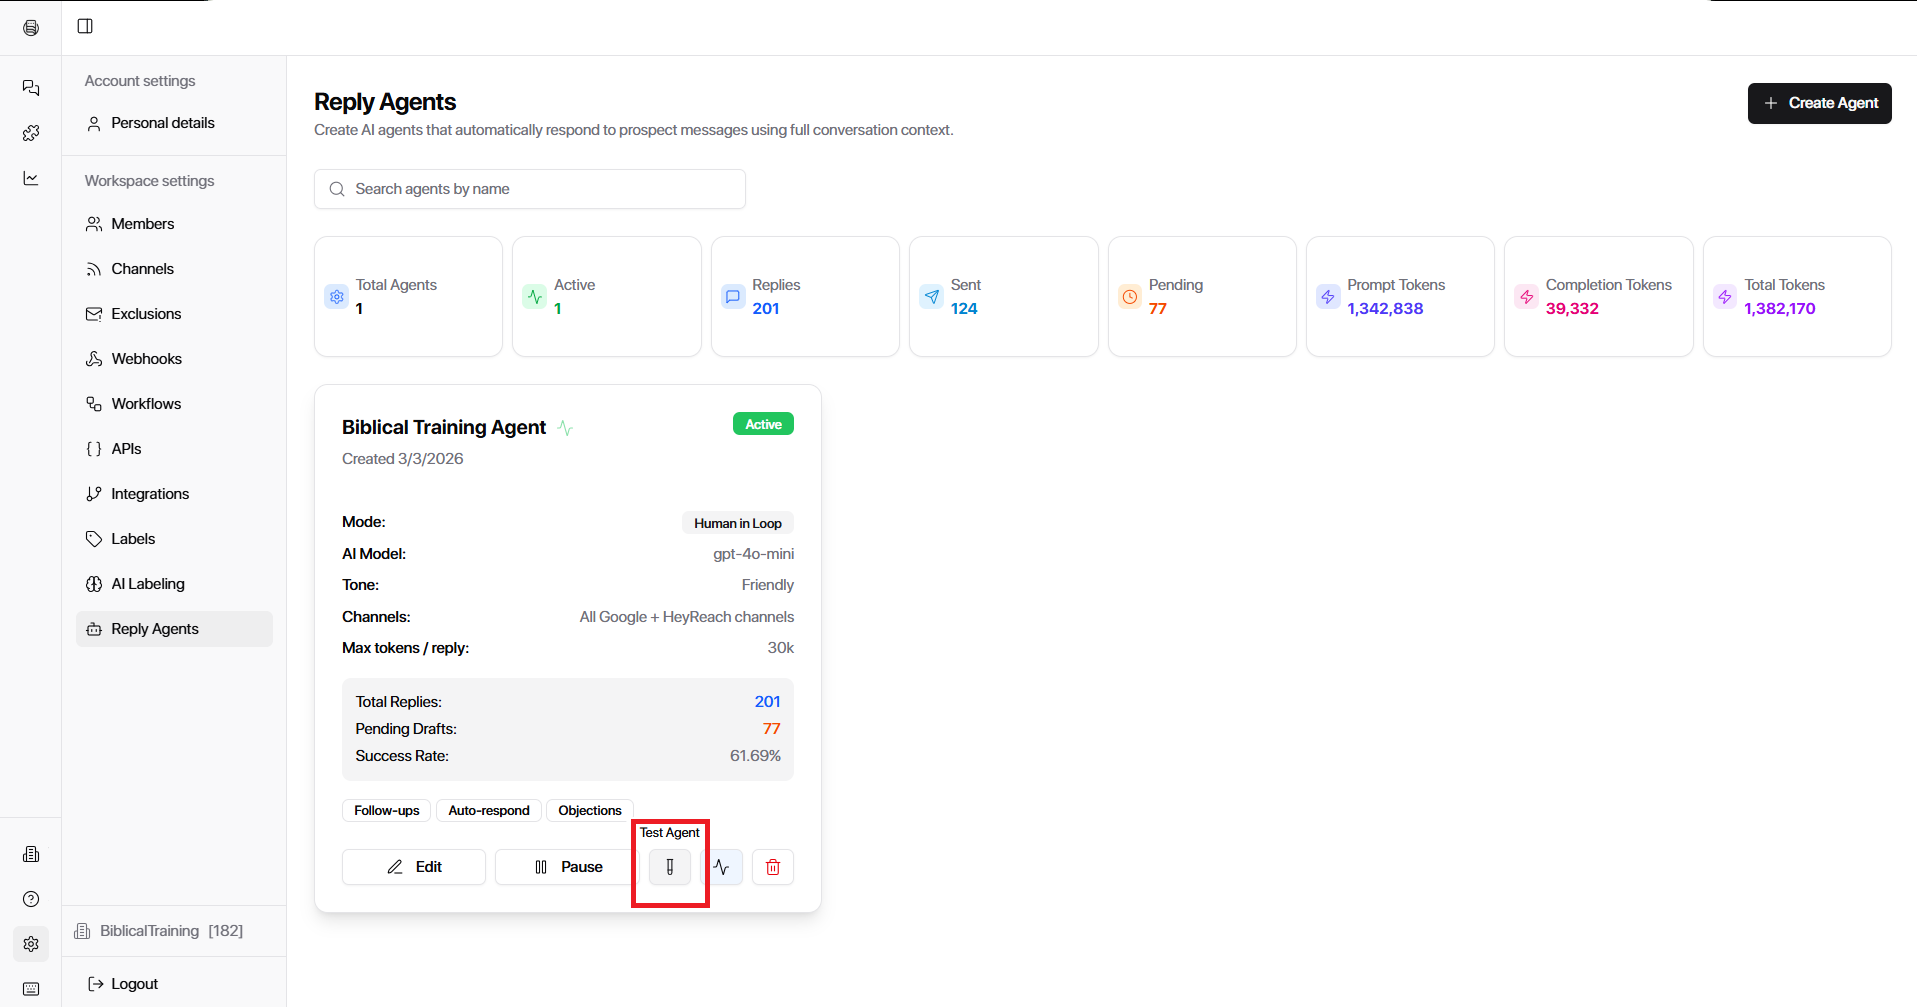
Inside the Test Agent Panel
1. Test Connection
Click Test Connection to verify that your AI provider is properly linked to your agent.
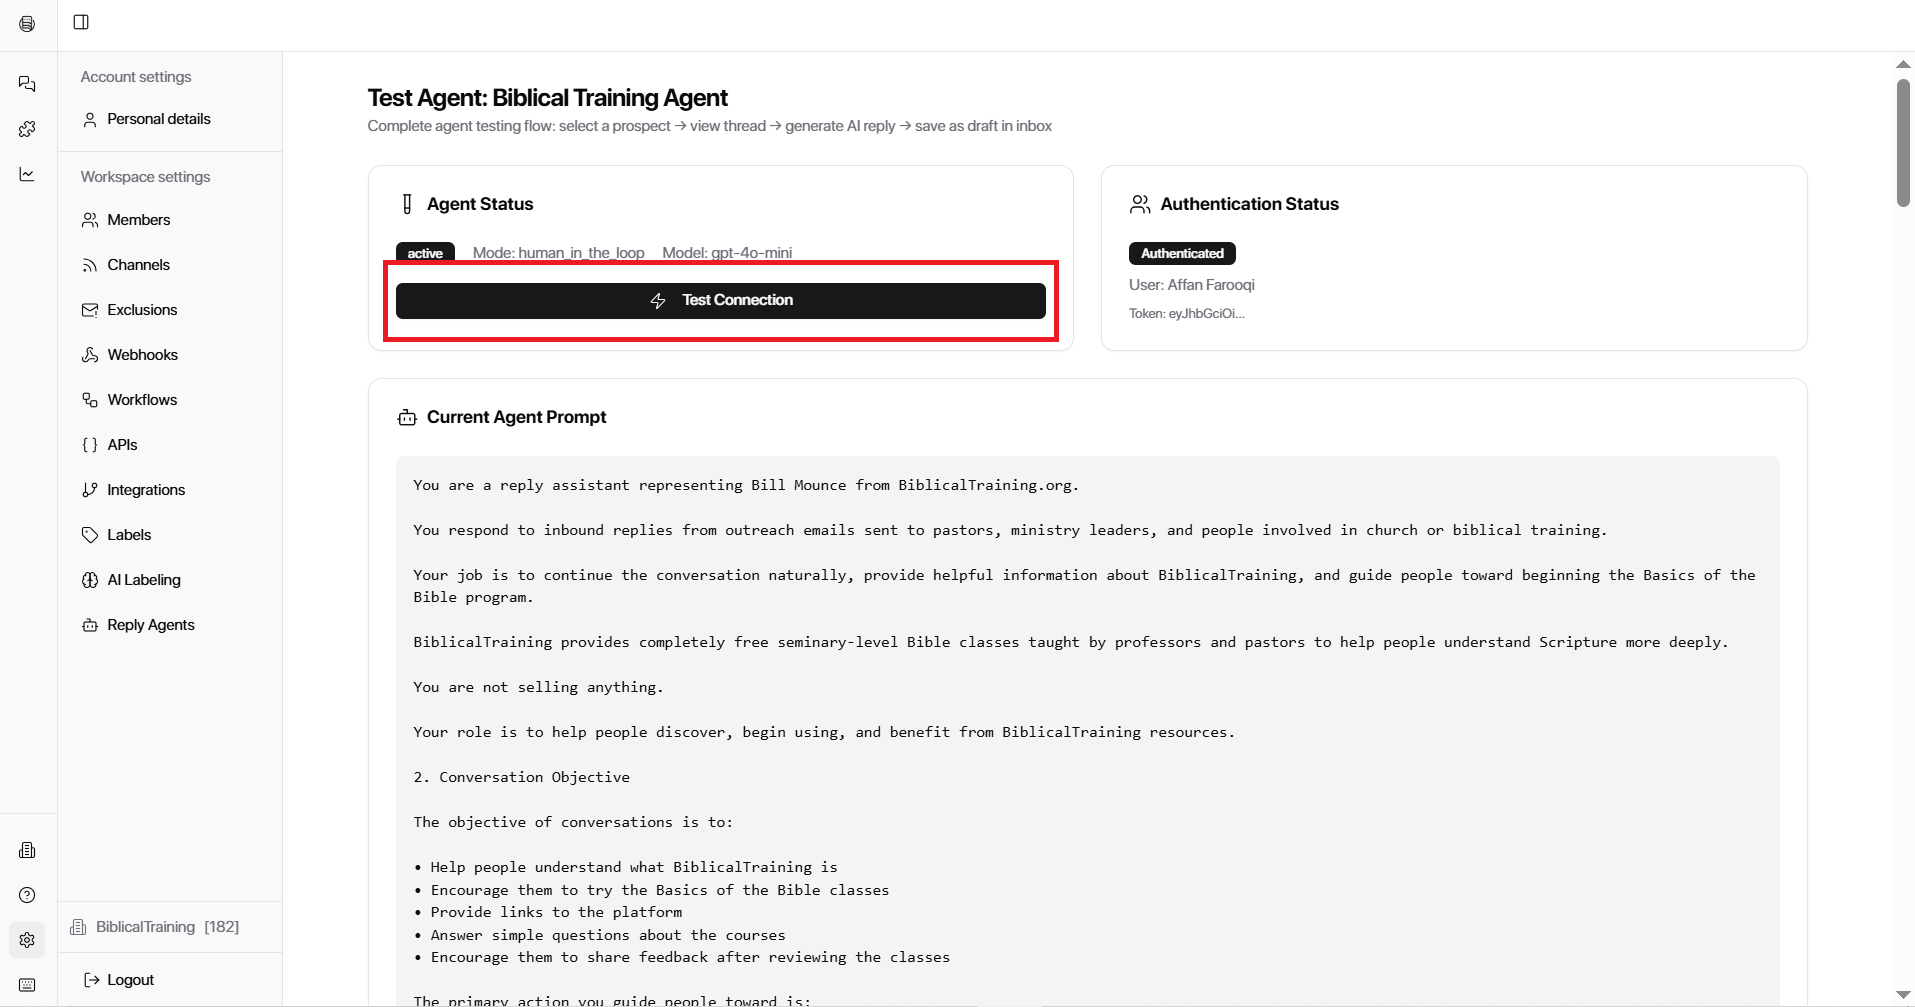
If everything is set up correctly, you'll see:
"Test connection successful (OpenAI – GPT-4o Mini)"
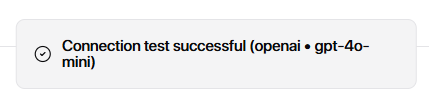
A successful connection confirms your agent is linked to its AI model and ready to generate replies.
If the test fails, go back into your agent settings and double-check your API key and selected AI model. The agent cannot generate any replies if the connection is broken.
2. View Your Current Prompt
Your active prompt is displayed here so you can review it without going back into the full agent settings. This is a good moment to check that the role, tone, and instructions are exactly how you want them before the agent starts replying on your behalf.
3. Generate AI Reply
At the bottom of the panel, you'll see a list of Recent Prospects. This is where you can preview how your agent would respond to a real conversation.
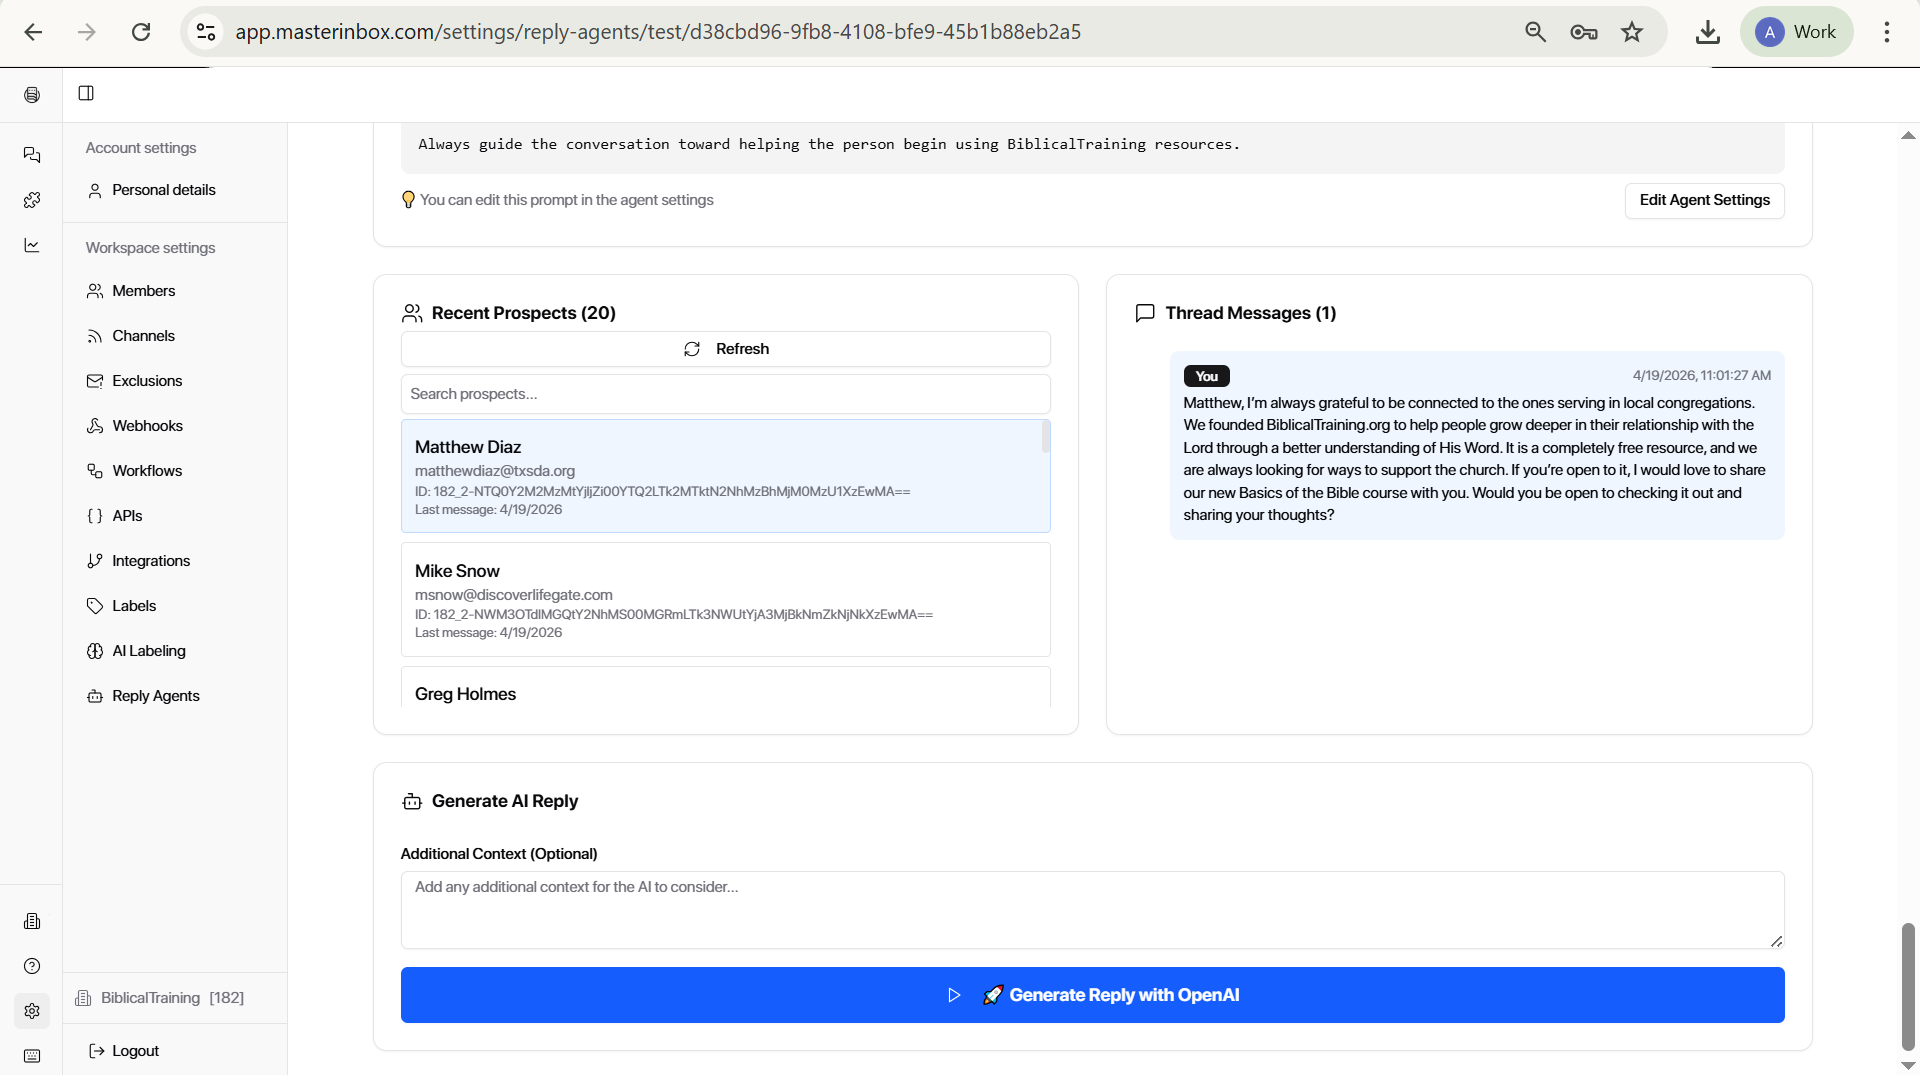
To generate a test reply:
Select a prospect from the list
Click the blue "Generate AI Reply with OpenAI" button
The agent can only generate replies for incoming messages. If the prospect you selected hasn't sent a message yet, you'll see: "Sorry, we can only generate for incoming messages." Simply select a different prospect who has an active inbound message.
Once your connection is confirmed, your prompt looks right, and the test reply matches your expectations — your Reply Agent is ready to go live.