
How to Create a Label
In this guide, you'll learn what labels are, how to create and configure them, how sentiments work, how to set obligations, and how to manage labels directly from the inbox.
What Are Labels (and Why They Matter)
Labels help you categorize replies based on intent, sentiment, or action needed.
Think of labels as your context layer.
They don't move messages between lists and they don't trigger actions by themselves, but they power everything else.
When used correctly, labels help teams:
Understand intent at a glance
Build powerful filters
Prioritize replies
Separate signal from noise
Keep inboxes clean and actionable
Labels are the foundation for Filters, Workflows, and daily prioritization.
What labels can do
Tag conversations with intent (Interested, Follow-Up, Not Interested, etc.)
Visually identify message context using colors
Combine with filters to decide next actions
Keep your team consistent across all conversations
What labels cannot do
Send replies automatically
Move messages between lists
Replace pipeline stages
Make decisions on their own
Labels provide context — not decisions. They need to be paired with filters and workflows to take action.
How to Create a Label
Follow these steps to create a new label in your workspace.
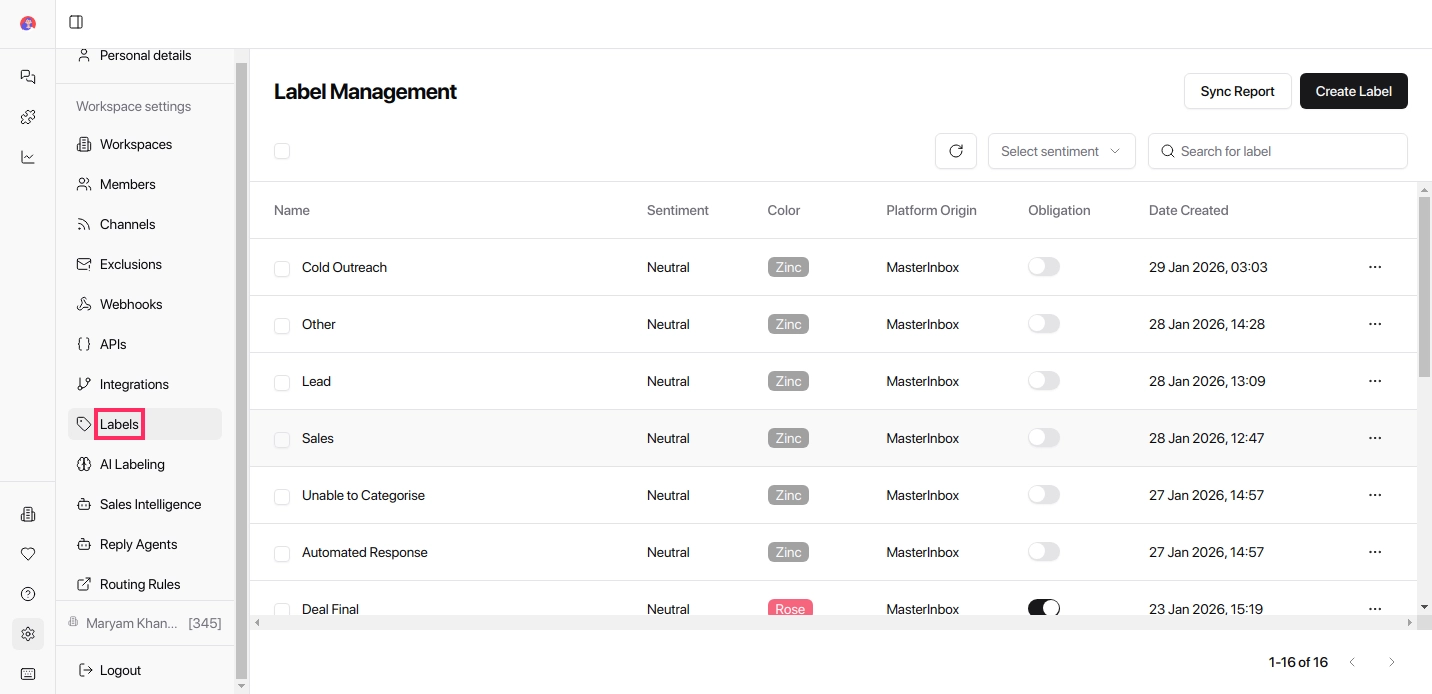
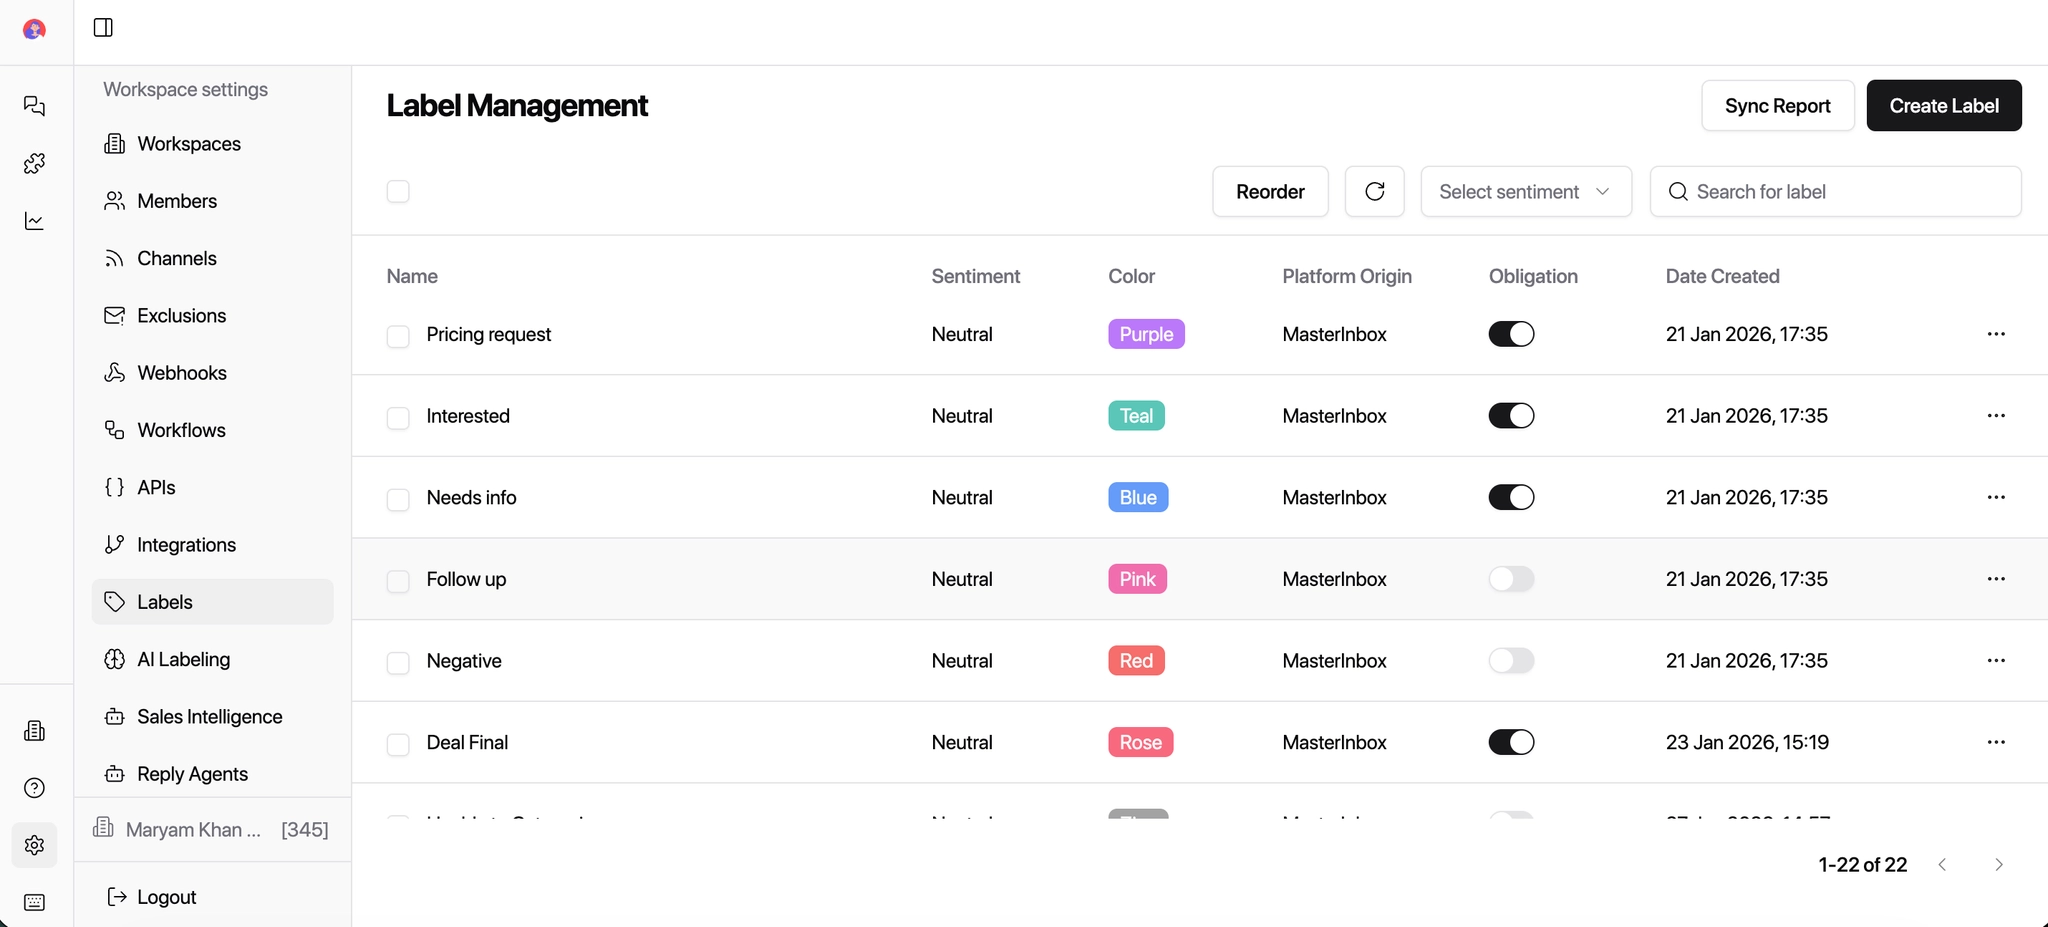
1. Access the Labels Configuration
Navigate to the left-hand menu
Navigate to the left-hand menu
Click on Labels
This is where you manage and organize all labels in your workspace.
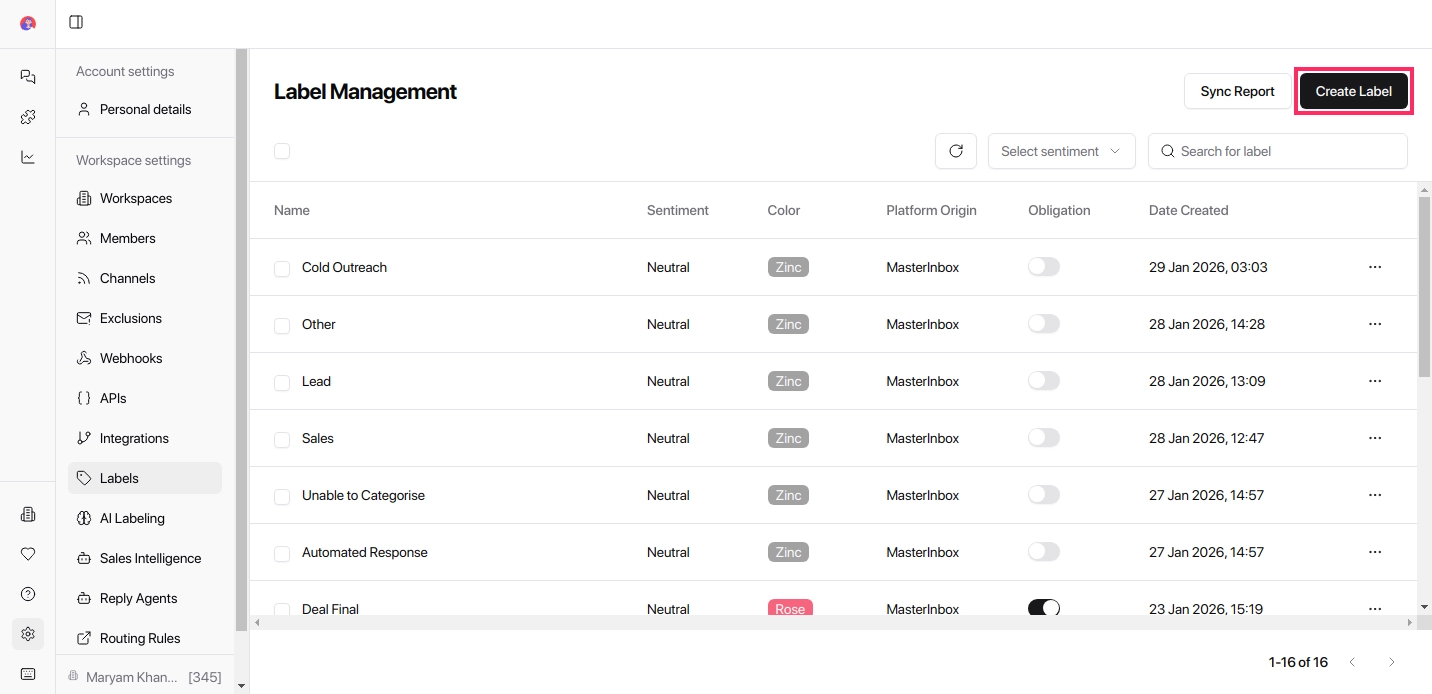
2. Click the Create Label button
Click the Create Label button in the top-right corner of the Labels page.
This opens the label creation dialog.
3. Enter the Label Name
In the Label Name field, enter a clear and descriptive name
Example: Interested, Follow-Up, Client Question
Label names can reflect intent or context.
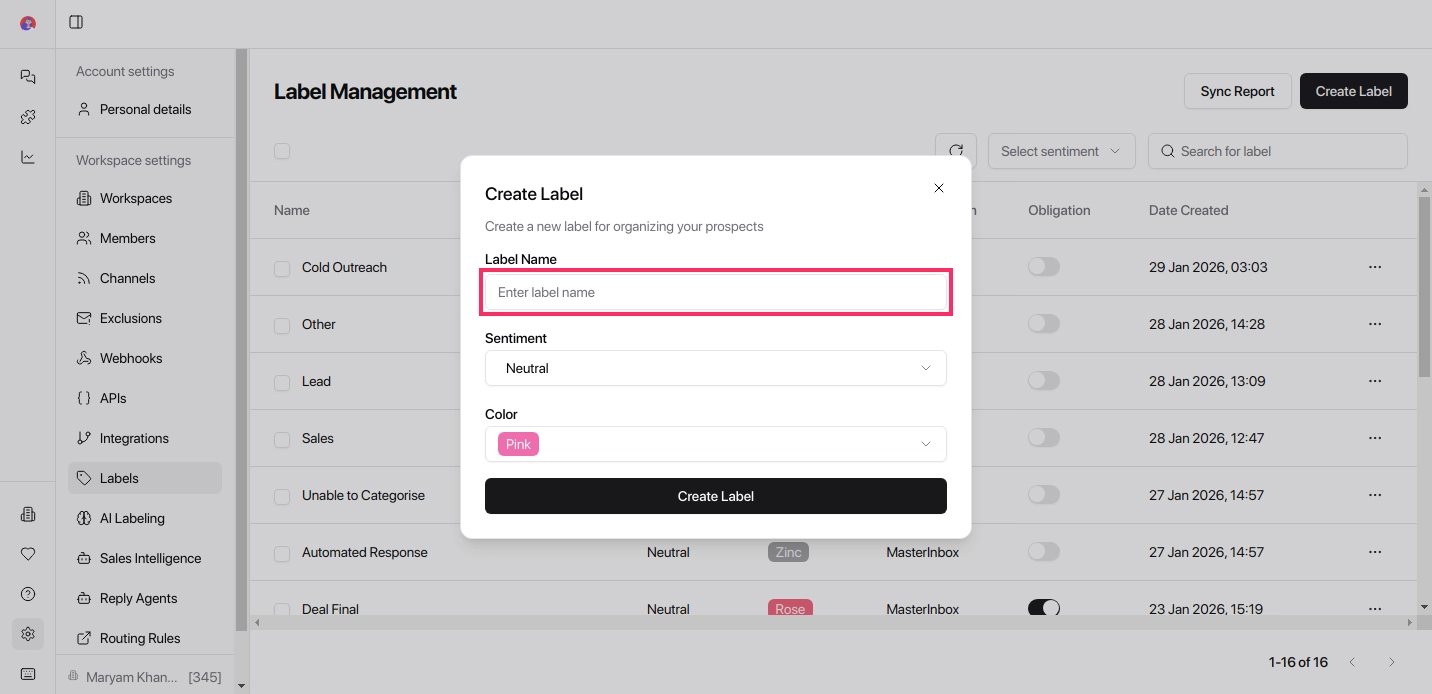
4. Click the Sentiment dropdown
Click the Sentiment dropdown and choose the sentiment that best matches the label: Positive, Neutral, or Negative.
Sentiment helps visually and logically group replies.

5. Choose a Label Color
Select a color for the label
Choose a color that makes the label easy to recognize
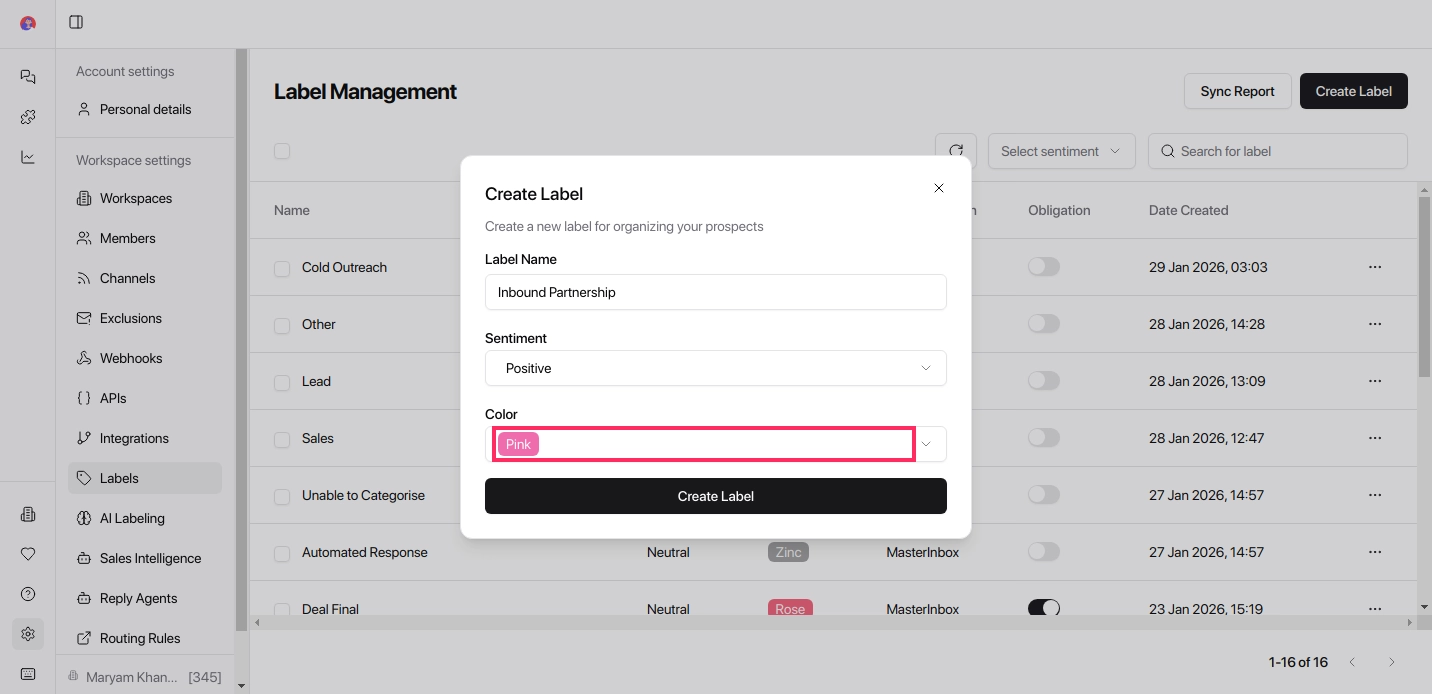
6. Click Create Label to save
Click Create Label to save.
The label is now available to tag conversations and power filters.

Use consistent colors for similar intents — for example, green for positive labels, yellow for neutral, and red for negative. It makes scanning your inbox significantly faster.
Sentiments Explained
Positive
The reply shows interest, engagement, or forward movement. Use for: buying intent, demo requests, call confirmations, warm responses. Common labels: Interested, Booked Call, Warm Lead Action: Reply now. Prioritize. Move the conversation forward.
Neutral
The reply is informational or unclear — not a yes, not a no. Use for: clarification requests, polite non-committal replies, follow-up later. Common labels: Follow-Up, Needs Info, Not Now Action: Reply later. Set a reminder. Don't rush, don't ignore.
Negative
The reply closes the loop — no further engagement needed. Use for: rejections, opt-outs, unsubscribes, irrelevant messages. Common labels: Not Interested, Do Not Contact, Unsubscribe Action: No reply needed. Archive or exclude from workflows.
Sentiment works with filters, not alone. Example setup: Positive → Reply Now filter. Neutral → Follow Up Later filter. Negative → No Action Needed filter. This keeps your inbox focused on what actually matters.
7. Set Obligations
Once a label is created, you will see the Obligations toggle on the right. This toggle defines which emails with this label are required to get a reply.
Obligations (When a Label Requires a Reply)
The Obligations option defines which labeled replies must be responded to and which do not require action.
Think of obligations as a reply requirement signal.
When enabled, obligations help teams:
Never miss important replies
Clearly separate must-reply vs no-action messages
Stay aligned across the team
Labels That Are Obligated to Get a Reply
Use obligations for labels that indicate interest, intent, or an active request.
Common obligated labels:
Interested → Prospect shows buying intent
Requested Demo → Explicit request for a demo
Pricing Request → Asking about cost or plans
Booked Call → Meeting confirmation or scheduling
Client Question → Active client support or question
Follow-Up → Prospect asked to reconnect later
👉 These should always appear in "Reply Now" or "Follow Up" views.
Labels That Are Not Obligated to Get a Reply
Do not mark obligation for labels that close the loop or require no response.
Common non-obligated labels:
Not Interested → Clear rejection
Unsubscribe → Opt-out request
Spam / Noise → Irrelevant messages
Warmup → Inbox warmup emails
Internal / FYI → Informational only
👉 These can be archived, ignored, or excluded from workflows.
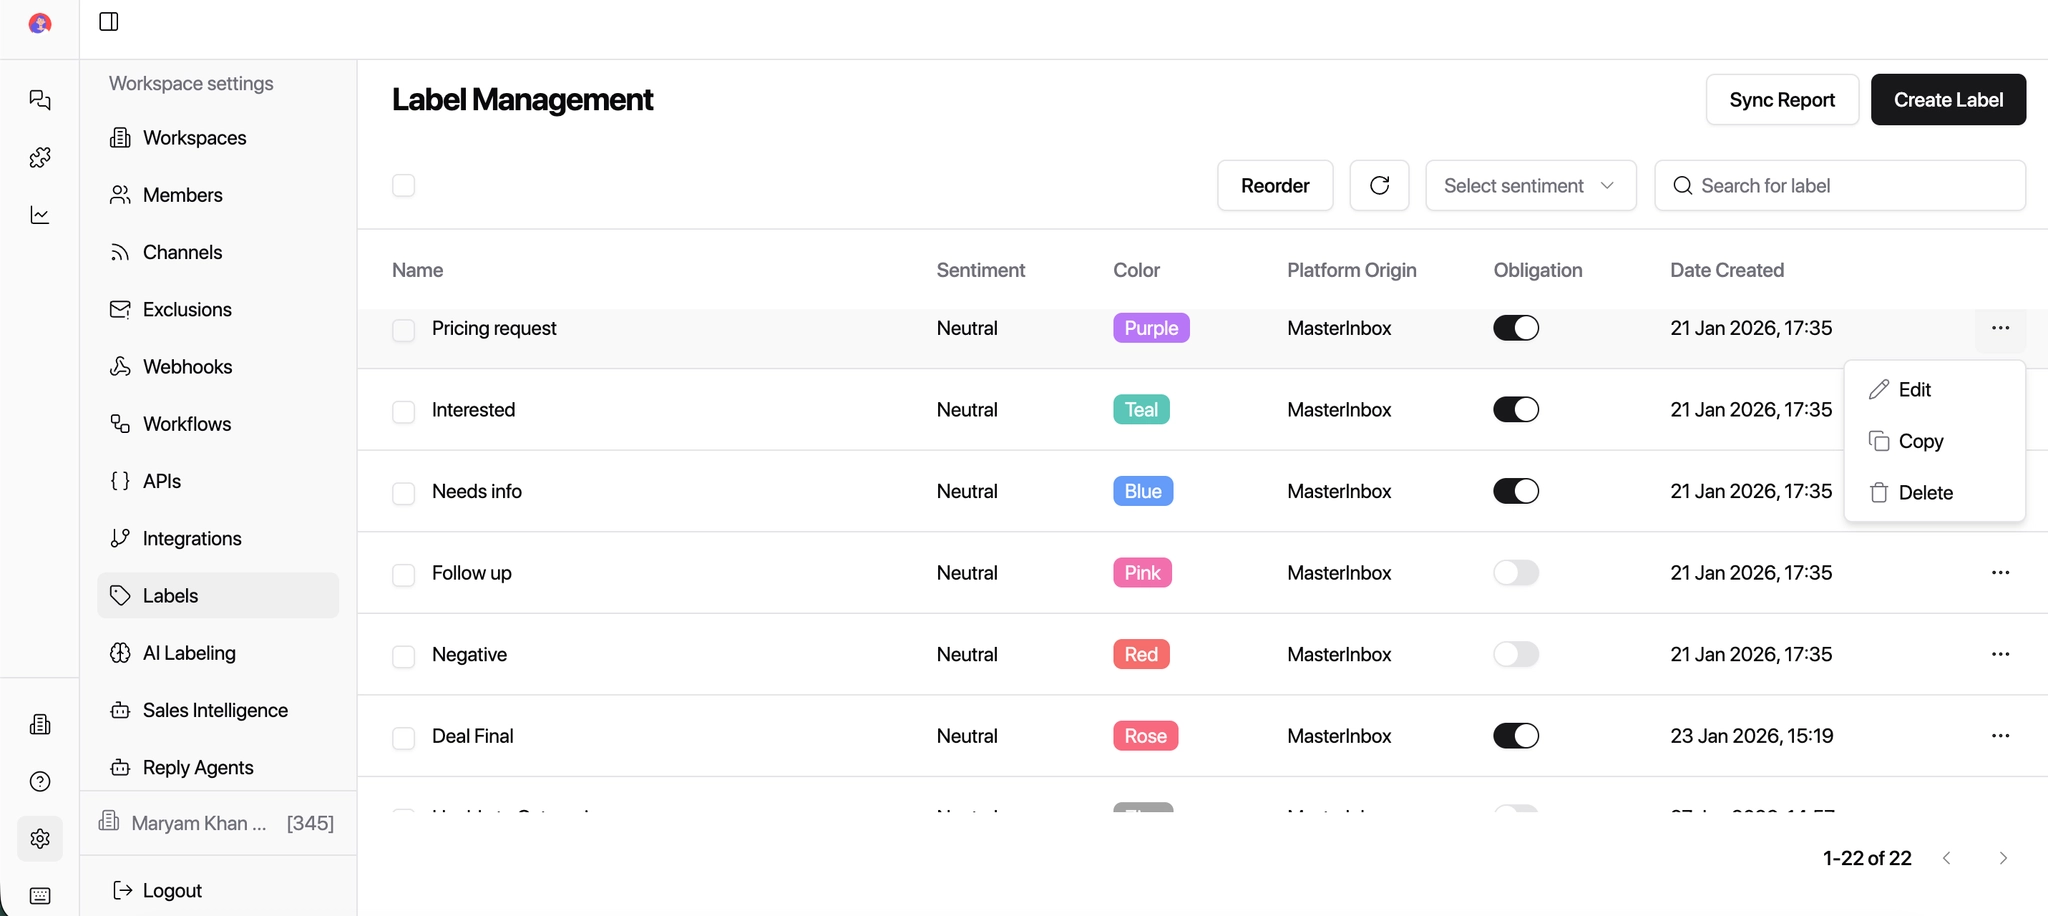
8. Edit or Delete a Label
You can edit or delete a label at any time:
Click the three dots (⋯) next to the label
Update the label name, color, sentiment, or obligations
Or delete the label if it's no longer needed
Edit or Create Labels Directly from the Inbox
You don't need to leave the inbox to manage labels. You can apply, edit, or create labels directly while viewing conversations.
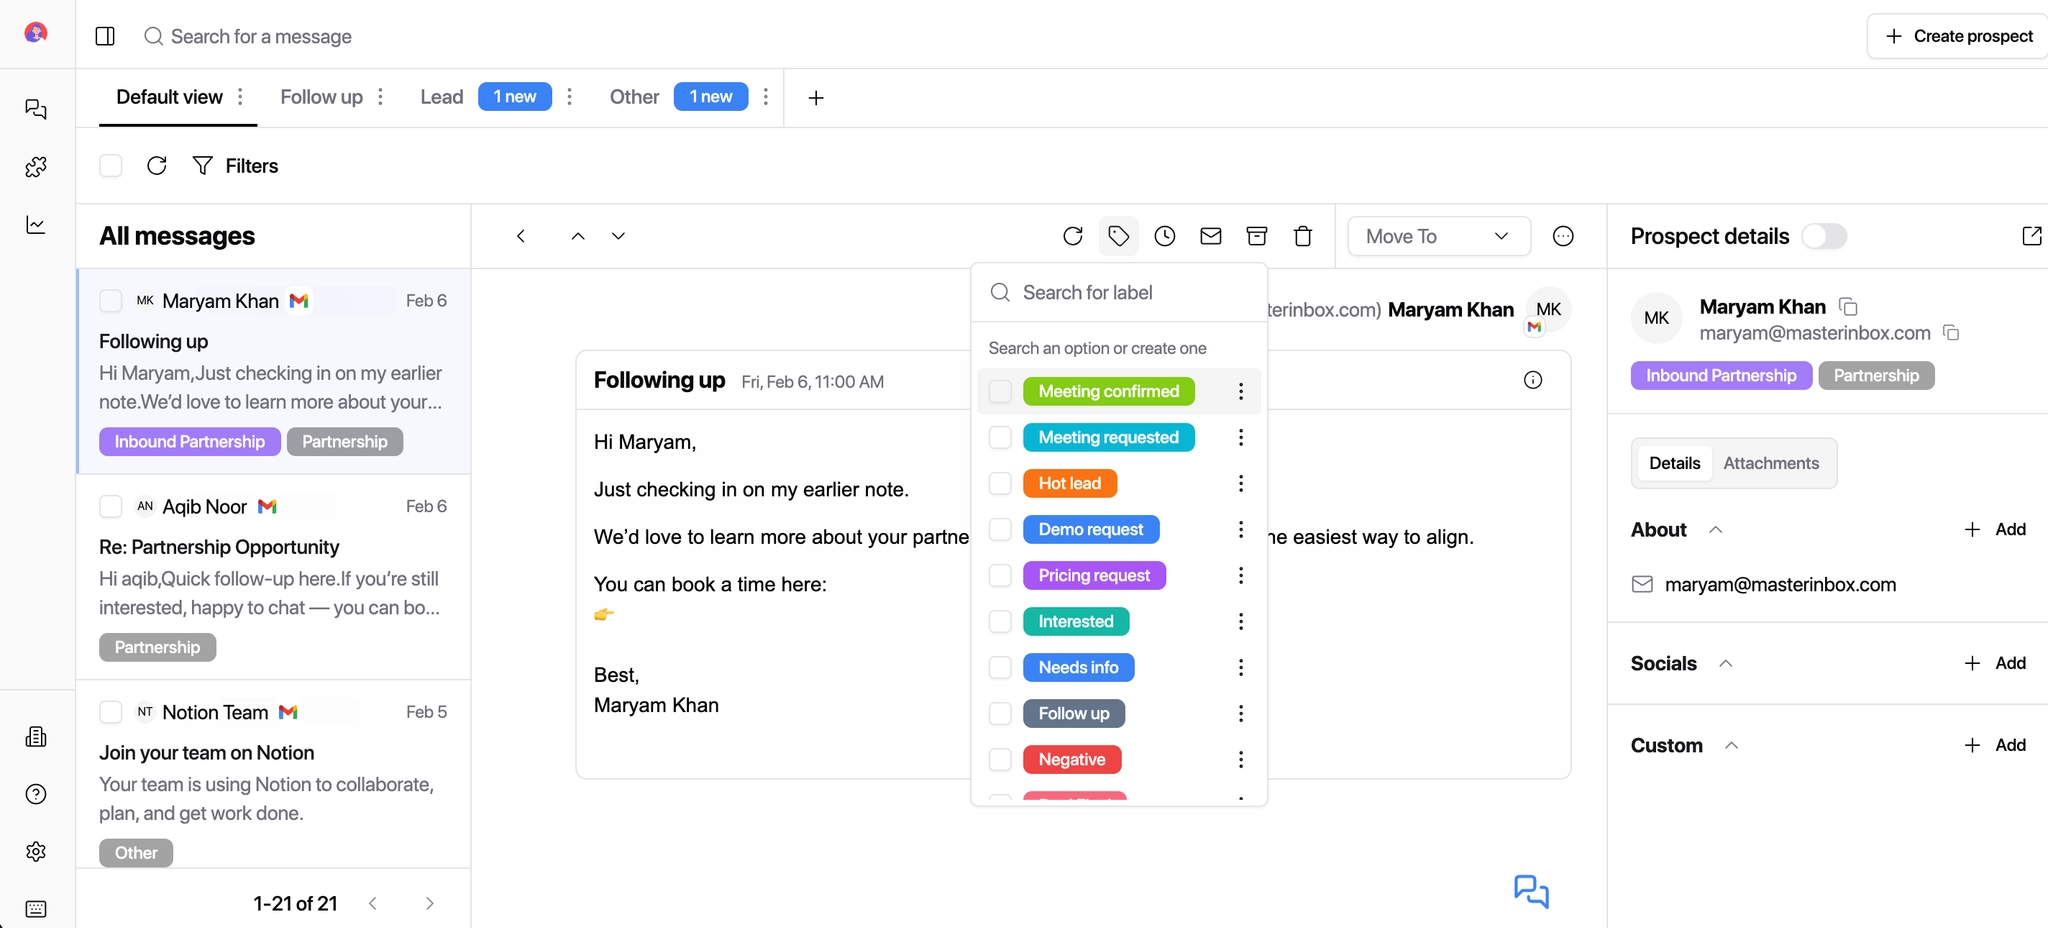
How to Apply an Existing Label
Open a conversation from the inbox.
Click Label in the message actions.
Select a label from the list of available labels.
👉 The label will be applied instantly to the conversation.
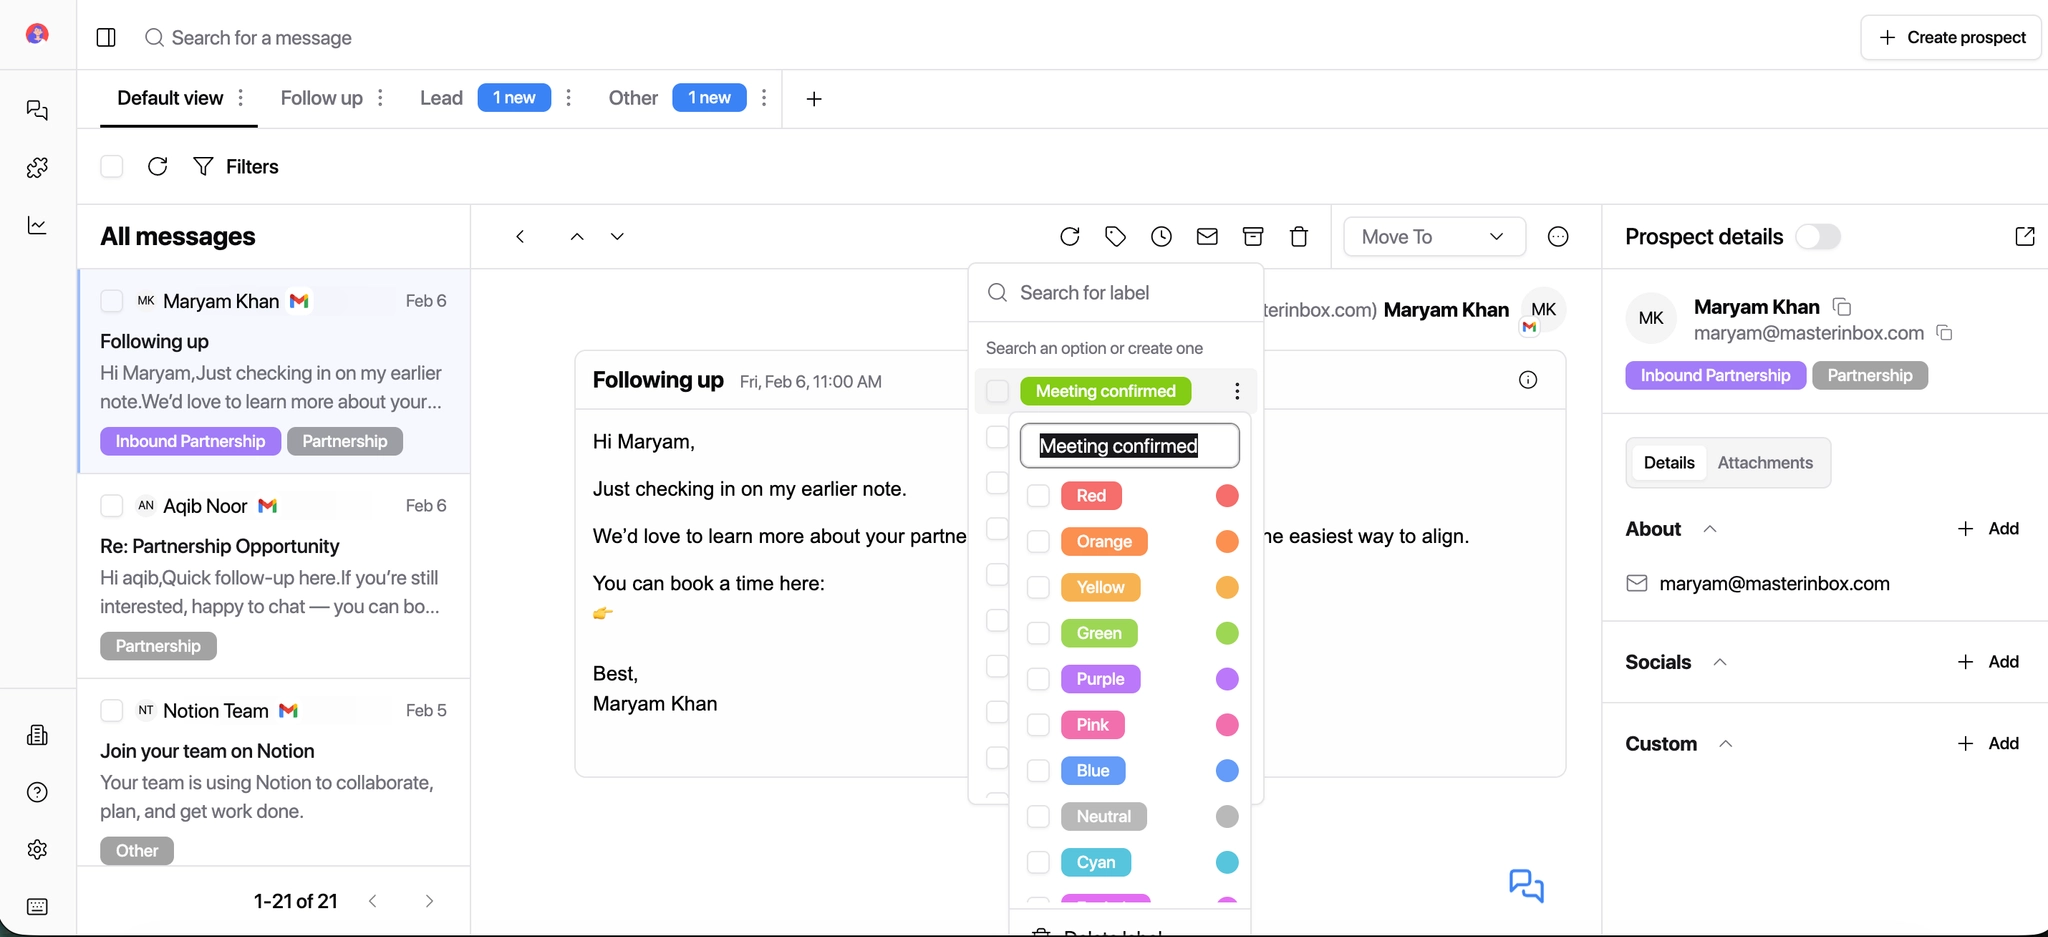
How to Edit a Label from the Inbox
Click Label in the inbox.
Hover over the label you want to update.
Click the three dots (⋯) next to the label name.
Edit the label name and/or label color.
Save your changes.
Changes will apply everywhere the label is used.
Best Practices for Labels
Do This
Keep labels simple and intent-based
Use consistent naming across the team
Review and clean up unused labels regularly
Start with a core set before expanding
Avoid This
Using labels as pipeline stages (that's what List Items are for)
Creating duplicate labels with similar meanings
Over-labeling every message
Changing label meanings over time
Recommended starter labels: Interested, Follow-Up, Not Interested, Client Question, Internal / FYI, Warmup / Noise. Build from here once your team has settled into a consistent labeling habit.